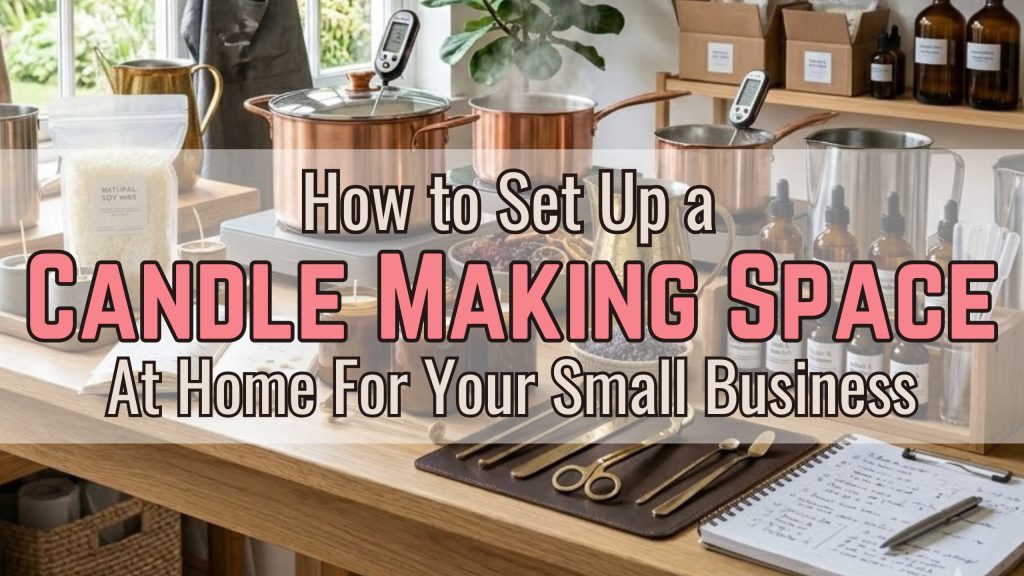
Your dream of having a beautiful, organized candle making space at home starts right here — and it’s easier to set up than you think.
So you want to make candles at home? That is SO exciting — and honestly, one of the best decisions you can make if you love creating things with your hands. Whether you’re just making candles for yourself and your friends, or you’re dreaming of growing a real small candle business from home, having the right setup makes a huge difference. The amazing thing? You don’t need a big room, a professional kitchen, or a ton of expensive equipment. Thousands of candle makers started with just a table, a few supplies, and a whole lot of passion — and built something truly special from there. You can do the exact same thing.
Affiliate Disclosure: This article contains affiliate links which means we may earn a commission at no extra cost to you. You can check our affiliate disclosure page here.
How to Set Up a Candle Making Space at Home

Let’s walk through exactly how to set up your very own candle making space at home — step by step, nice and easy.
Step 1: Pick Your Spot
First things first — you need to find a spot in your home where you’ll be doing all your candle work.
This could be:
- A corner of your kitchen
- A spare room
- A section of your garage
- Even a sturdy table in your basement
The most important thing is that your spot has good airflow. Candle making involves melting wax and using fragrance oils, and you want fresh air moving through the space so you’re not breathing in heavy scents all day long. A window nearby is a big plus!
You also want to be close to a power outlet (for your wax melter or hot plate) and near a sink for easy cleanup.
If you’re setting up a home candle studio, even a small dedicated area helps you stay organized and feel like a real business owner — because you ARE one!
Step 2: Get the Right Table
Your table is basically your best friend in candle making. You’ll be pouring hot wax, measuring fragrance, and labeling jars all on this surface — so it needs to be sturdy and easy to clean.
Here’s what makes a great candle making work table:
- Solid and stable — no wobbly tables! Hot wax tips are a mess (and a safety hazard).
- Easy to wipe down — a smooth surface like laminate or metal is perfect.
- Big enough — you want room for your pouring pitcher, your candle jars, your scale, and your supplies without feeling cramped.
A foldable utility table from a hardware store works great and doesn’t cost much. If you want your candle making workspace to look cute and aesthetic, you can add a shelf above the table to display your supplies neatly.
Step 3: Organize Your Supplies
Once you have your table, it’s time to set up your supplies so everything has a home. This is where your space goes from messy to magical.
Here’s a simple way to organize your candle making setup at home:
On the table:
- Your pouring pitcher and wax
- A digital scale
- Fragrance oils (just the ones you’re currently using)
- Wicks and wick holders
- Your candle containers or jars
On a shelf or nearby cart:
- Extra fragrance oils
- Dyes or colorants
- Labels and packaging supplies
- Spare wicks and containers
- Cleaning rags or paper towels
In a drawer or bin:
- Tools like thermometers, spatulas, and scissors
- Extra labels
- Tape, markers, rubber bands
Keeping things organized means you’ll spend less time searching for stuff and more time actually making candles. And when you’re running a handmade candle business, time really does matter!
Step 4: Safety First — Always
Candle making is super fun, but it does involve heat and open flames during testing — so safety is really important.
Here are a few simple rules to follow in your candle making room setup:
- Never leave melting wax unattended. Wax can overheat quickly.
- Keep a fire extinguisher nearby — just in case.
- Use a thermometer so your wax doesn’t get too hot.
- Keep paper and fabric away from your heat source.
- Always work on a heat-safe surface or lay down a silicone mat.
It also helps to keep your space tidy as you go. Spilled wax on the floor is slippery — so wipe up drips right away!
Step 5: Make It Yours
Here’s the fun part — making your candle studio at home feel like YOUR space.
A space you love being in keeps you motivated, and that’s huge when you’re building a business. A few ideas:
- Hang a mood board with your brand colors and candle inspo
- Add a small plant or two (they make everything cozier)
- Use pretty storage jars or bins that match your brand aesthetic
- Put up good lighting — natural light is best, but a bright LED ring light works too
- Play your favorite music while you work!
Your workspace doesn’t have to be perfect. It just has to feel good and work for YOU.
Step 6: Think About Your Business Flow
If you’re making handmade candles to sell, your space needs to do more than just hold your supplies. It needs to support your whole workflow — from making to packaging to storing.
Think about:
- Where will finished candles cure? (Candles usually need 24–48 hours to set properly.) A shelf or a separate table works great.
- Where will you store packaging? Boxes, tissue paper, and mailers need their own spot.
- Where will you photograph your candles? Good product photos sell candles! Even a small corner with a pretty backdrop near a window works perfectly.
Planning your workflow means fewer headaches when orders start coming in — and they will!
Things That Make Your Setup So Much Easier
Setting up your space doesn’t have to be expensive, but a few well-chosen tools really do make the whole process smoother, cleaner, and more enjoyable. These are the ones worth having from day one.
Wax pouring needs a flat, heat-resistant surface with room to move. This one is easy to wipe clean and folds away when you need the space back — a favourite in the candle-making community for good reason.
Wax drips happen — this protects your table surface and makes cleanup a two-second job. Far better than layering newspaper that slides around mid-pour.
3) Tiered Storage Shelf or Rolling Cart
Keeping your fragrance oils, wicks, and dyes within arm’s reach (but off your main table) is a complete game changer for your workflow.
4) Digital Kitchen Scale (0.1g precision)
Eyeballing fragrance is the most common beginner mistake. A precise scale means consistent candles every single time — and it’s one of the cheapest things on this list.
5) Stainless Steel Pouring Pitcher
Easy to pour, easy to clean, handles heat well. If you’re only going to buy one candle-making tool, make it this one.
You’re Ready to Go!
Your candle making workspace at home doesn’t need to be perfect on day one. It just needs to work for you — and it will grow as your business grows. Start with what you have, keep things clean and organized, and add to your setup little by little as you go.
Many successful homemade candle businesses started on a single folding table in a spare bedroom — and yours can too. The only difference between a dream and a real business is that first step. You’ve already taken it just by reading this.
Related:
- 15 Profitable Candle Business Ideas to Start Your Homemade Candle Shop
- 7 Pro Level Candle Making Kits to Start Your Candle Shop
- How to Price Candles for Profit as a Small Business
Now go set up that space, melt some wax, and make something beautiful.