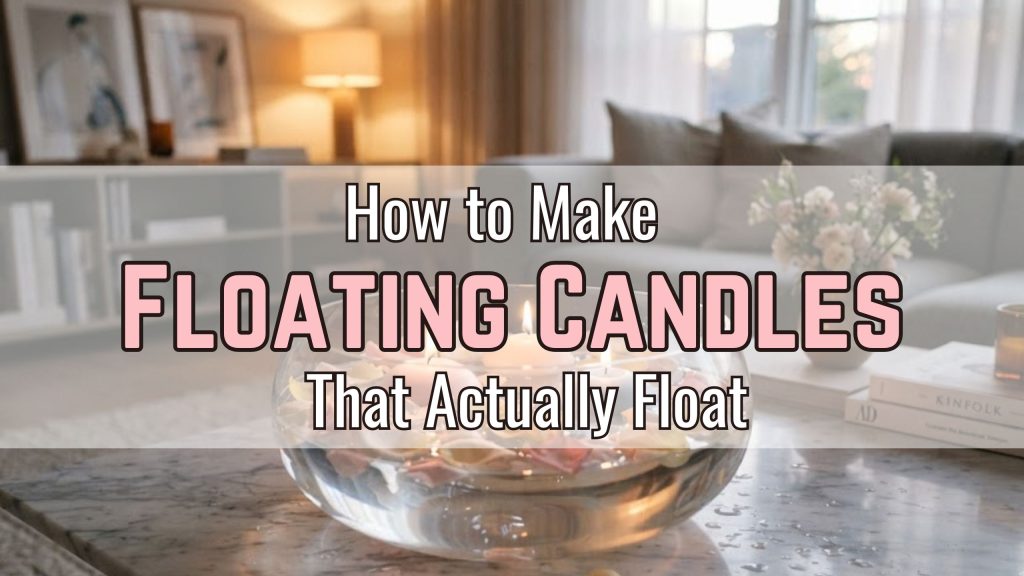
Learning how to make floating candles at home is one of those candle making skills that looks incredibly impressive but is actually one of the most beginner-friendly projects you will ever try.
Floating candles have a kind of quiet magic about them — that soft glow reflected in the water beneath them, the way they drift and flicker in a bowl at a dinner table or wedding centerpiece, the feeling they bring to a room that no other candle quite replicates. They look like something that took hours of skill and special equipment. In reality, they are one of the simplest candles you can pour, with fewer materials, a shorter making time, and more immediate results than almost any other candle style.
The secret to a candle that actually floats is all in the shape — wide and flat rather than tall and narrow, with just enough wick and wax to burn beautifully on the water’s surface without sinking. Once you understand that one principle, the whole process becomes simple and endlessly creative.
Whether you are making these for your own home, as gifts, for a wedding, or to add to your candle business product line — this guide covers everything. Let’s start from the very beginning.
Affiliate Disclosure: This article contains affiliate links which means we may earn a commission at no extra cost to you. You can check our affiliate disclosure page here.
Everything You Need to Make DIY Floating Candles
Your Floating Candle Making Supply List
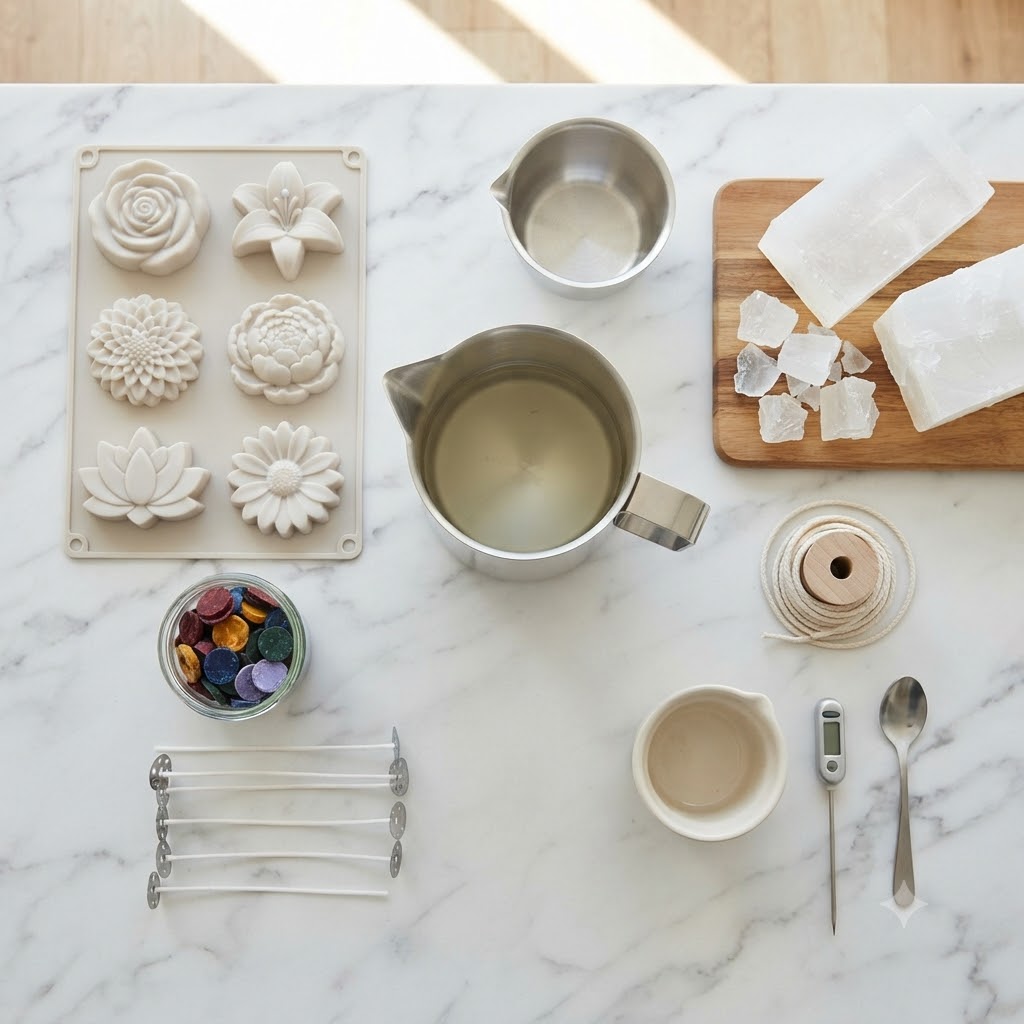
The great news about floating candle making is that the supply list is short. You do not need fancy equipment or expensive materials. Here is everything you need to get started.
Parrafin Wax — paraffin wax is the traditional choice for floating candles because it is denser and harder than soy wax, which gives the candle the rigidity it needs to hold its shape on water. A medium to high melt point paraffin (around 130–145°F) works best. Soy wax can work but it is softer and the candles may not hold their edges as cleanly, especially in warmer rooms.
Wicks — use short, pre-tabbed wicks sized for the diameter of your candle. Because floating candles are wide and flat rather than tall, the wick does not need to be long — just stable and centred.
Moulds — this is where things get fun. You can use:
- Silicone moulds in circular, flower, star, or seasonal shapes
- Metal tart tins or small round cake tins
- Flexible ice cube trays in decorative shapes
- Purpose-made floating candle moulds (available online)
The shape matters — floating candles need to be wider than they are tall. A diameter of at least 5–7cm and a height of no more than 2–3cm is the ideal ratio for good floating performance.
Candle dye — optional but beautiful. Dye blocks or liquid candle dye in any colour you choose.
Fragrance oil — optional, but scented floating candles are a lovely touch, especially for bath or table use. Keep fragrance load at or below 6% for paraffin floating candles.
A double boiler, digital thermometer, pouring pitcher, and kitchen scale — the standard candle making tools you likely already have.
How to Make Floating Candles: Step-by-Step
Step 1: Prepare Your Moulds and Wicks
Start by setting up your moulds on a flat, stable surface — a baking tray or cutting board works perfectly and makes moving them easy once filled with liquid wax. If your moulds are silicone, they need no preparation. If you are using metal tins, spray the inside lightly with cooking spray or wipe with a very thin layer of vegetable oil — this helps with demoulding later.
Place your wick in the centre of each mould. For floating candles, the wick is usually short enough to simply rest against the bottom of the mould (which becomes the top of the candle when unmoulded), held in place by the wax as it sets. You can use a small dab of hot glue or a wick sticker on the wick tab to hold it in place on the bottom of the mould while you pour.
Make sure the wick is perfectly centred — off-centre wicks cause uneven burning on a floating candle, which can make one side heavier and cause it to tip in the water.
Step 2: Melt Your Wax
Measure your wax by weight using your digital scale. For a batch of 6–8 standard round floating candles (roughly 6cm diameter, 2cm tall), you will need approximately 200–250g of wax.
Melt your paraffin wax in your double boiler over medium-low heat. Watch the temperature carefully — paraffin has a higher flash point than soy and can reach higher temperatures faster if you are not paying attention. Heat slowly and steadily to around 170–180°F (77–82°C) until completely liquid.
Stir gently and occasionally as it melts to ensure even heat distribution throughout the wax.
Step 3: Add Colour and Fragrance
Once your wax is fully melted and at temperature, it is time to add your dye and fragrance oil.
For colour: Remove the wax from heat. Add a small shaving of dye block or a few drops of liquid dye and stir slowly and thoroughly until the colour is completely and evenly distributed. Test the colour by dipping a white piece of paper into the wax — this shows you what the colour will look like once set, since liquid wax always appears darker than solid wax.
For fragrance: Add your fragrance oil at around 160°F (71°C) — not at maximum temperature, as adding fragrance to very hot wax can cause it to evaporate off before the candle even sets. Add no more than 6% of the total wax weight in fragrance oil. Stir gently for 30–60 seconds to fully incorporate.
Step 4: Pour Into Your Moulds
Allow the wax to cool slightly in the pitcher — you want to pour at around 150–155°F (65–68°C) for paraffin. Pouring too hot causes excessive shrinkage and surface imperfections. Pouring at the right temperature gives you a smooth, flat top surface which is critical for floating candles since that surface faces up in the water.
Pour slowly and steadily into each mould, filling to just below the top edge. Do not overfill — the wax needs a little room as it expands slightly before setting.
As you pour, check that the wick has stayed centred in each mould. If it has shifted, gently nudge it back to the centre with a cocktail stick before the wax begins to set.
Step 5: Let Them Cool Completely — No Rushing
This is the step most beginners get wrong, and it is the one that makes the biggest difference to how your homemade floating candles turn out.
Leave your poured candles completely undisturbed at room temperature for a minimum of 3–4 hours. Do not move them. Do not put them in the fridge. Do not poke or test them. Paraffin wax needs to cool slowly and evenly to set properly — rapid cooling causes cracking, frosting, and sinkholes that affect both the appearance and the floating performance of the candle.
You will know they are ready when the wax looks fully opaque, the surface is completely matte and firm to a gentle touch, and the candles have pulled slightly away from the sides of the mould on their own.
If you notice a small sinkhole around the wick once they are set, do a small top-up pour at a lower temperature (around 130–135°F) to fill it in. Let this set fully before demoulding.
Step 6: Demould Your Floating Candles
Once your candles are fully set and cooled, demoulding is the most satisfying part of the whole process. With silicone moulds, simply flex the mould gently and the candle pops out cleanly — the flat bottom of the mould becomes the smooth top surface of your finished floating candle.
With metal tins or rigid moulds, place them briefly in the fridge for 10–15 minutes to help the wax contract slightly, then turn upside down and tap gently. The candle should slide out cleanly.
Trim the wick to approximately 5–6mm above the wax surface. Any longer and the wick may curl under its own weight and create an uneven burn.
Give each candle a quick once-over — check the surface is smooth, the wick is centred and trimmed, and the shape is clean and intact. Any surface imperfections on the top can be gently smoothed with a heat gun on the lowest setting held about 15cm away from the surface.
Step 7: Float and Display Them
Now for the best part. Fill a wide, shallow bowl, a glass vase, a decorative basin, or any container with water. Float your candles on the surface — they should sit comfortably with the flat wax surface facing up and the wick pointing skyward.
Light the wick and watch what happens. The warmth from the flame gently radiates down into the water, the glow reflects upward, and the candle drifts slowly as the air in the room moves. Few things in home décor are quite this beautiful for quite so little effort or cost.
Displaying tips for the best results:
- Float multiple candles together in one large bowl for maximum visual impact
- Add fresh flower heads, rose petals, or floating leaves to the water around the candles for a more decorative look
- Use coloured water (a drop of food colouring) for a dramatic seasonal effect
- Place the bowl on a mirror or reflective tray to double the glow effect
- For outdoor use on still evenings, floating candles in garden bowls or stone birdbaths look stunning at dusk
Floating Candle Centerpiece Ideas
Stunning Ways to Use Handmade Floating Candles
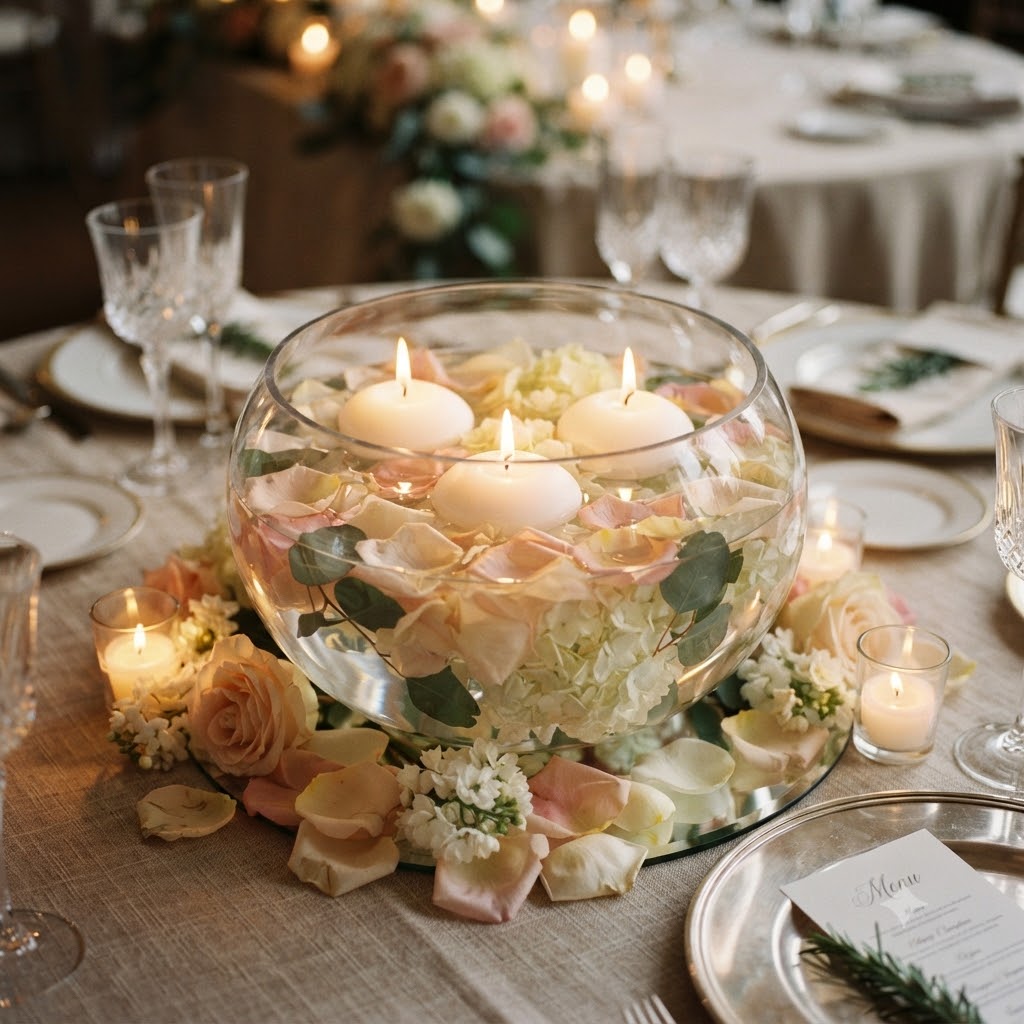
Floating candle centerpieces are one of the most elegant and affordable ways to decorate a table for any occasion. Here are some of the most beautiful ways to display your handmade floating candles once they are made.
The Classic Wedding Centerpiece — fill tall cylinder vases with water, float a single large round candle in each one, and surround with submerged flower petals and greenery below the waterline. The candle glow lights up the flowers beneath it and the whole thing looks incredibly expensive.
The Seasonal Holiday Bowl — for Christmas or winter gatherings, float white or red candles in a wide bowl of water with pine sprigs, cinnamon sticks, star anise, and dried orange slices floating around them. The scent and the visual together are extraordinary.
The Everyday Bathroom Display — two or three small flower-shaped floating candles in a white ceramic bowl beside the bath transforms a regular bath into something that feels like a spa. Change the colour of the candles with the seasons for effortless bathroom refreshing.
The Outdoor Garden Table — for warm evenings, a wide stone or ceramic bowl filled with water and four or five floating candles serves as the only centrepiece a garden table ever needs. Add fresh herbs like rosemary or lavender to the water for a natural fragrance that carries softly on the evening air.
The Mantel Row — line up a row of identical round floating candles in individual small glass bowls along a mantel or sideboard for a minimalist, architecturally striking effect that looks intentional and styled without any additional decoration needed.
Tips for Perfect Floating Candles Every Time
Troubleshooting Common Floating Candle Problems
My candle sinks to one side — this almost always means the candle is too tall for its width, or the wick is off-centre making one side heavier. Aim for a width-to-height ratio of at least 3:1 (so a 6cm wide candle should be no more than 2cm tall) and always keep your wick perfectly centred.
My candle is sinking — the candle is too dense or has absorbed water through a crack. Make sure you are using paraffin rather than a very soft wax, and check that your candle demoulded without any cracks in the base. A hairline crack will let water in over time and cause the candle to become waterlogged and sink.
The surface has a rough or cracked finish — you poured too hot or the candle cooled too quickly. Lower your pouring temperature slightly and make sure there are no cold drafts near your cooling candles.
The wick goes out after a few minutes — the wick is too short or the flame is drowning in melted wax. Trim to exactly 5–6mm before every burn and make sure your candle is wide enough that the melt pool does not reach the edges and cause the flame to pull wax toward it too fast.
The colour is much paler than expected — paraffin wax lightens significantly as it sets. Use slightly more dye than you think you need and always do a paper test while the wax is still liquid to check the set colour.
Now you know exactly how to make floating candles from start to finish — the wax, the moulds, the pouring temperature, the cooling, and the display.
Make a small batch this weekend. Float them in a bowl on your dining table tonight. Watch how the light changes the whole room. And once you see how easy the process actually is, you will find yourself making batches for every season, every occasion, and every person you know who deserves something beautiful and handmade. Floating candles diy projects like this are the best kind — simple enough for a complete beginner, beautiful enough to never stop making.
Related: