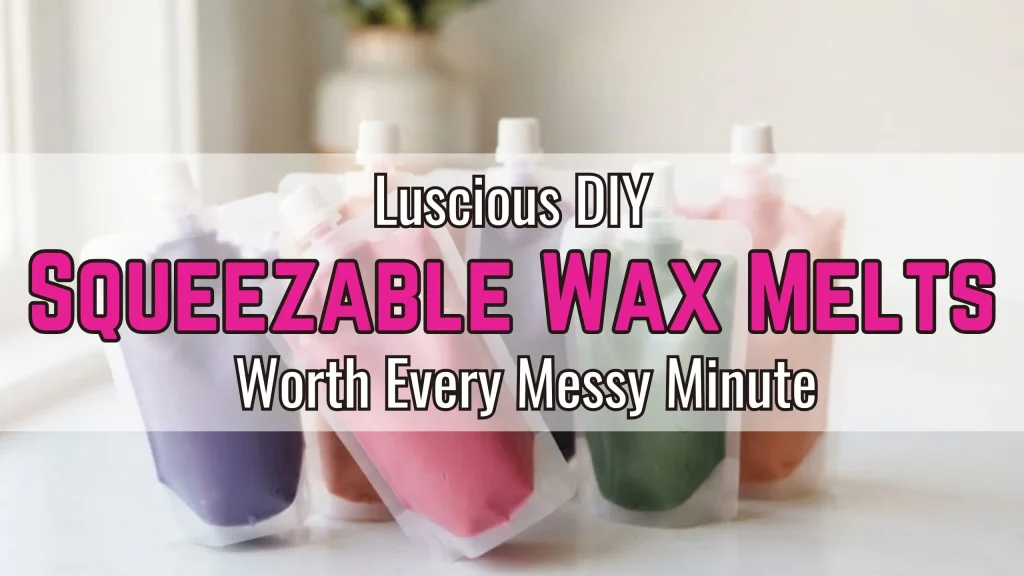
Squeezable wax melts sit somewhere between a wax melt and a product you genuinely can’t put down once you’re holding it, and that’s exactly why they’re taking over candle markets right now. The soft, pourable wax goes into a small clear squeeze pouch, sets into a squishy, fragrant melt that customers can squeeze directly into a wax warmer, and looks incredible on a market table or in an Etsy listing. Whether you’re making a batch for your own home, experimenting with a new product line for your candle business, or just curious whether the trend lives up to the hype — the recipe is simpler than most people expect, and the results are the kind of thing you’ll want to make again before the first batch is even finished.
Affiliate Disclosure: This article contains affiliate links which means we may earn a commission at no extra cost to you. You can check our affiliate disclosure page here.
How to Make DIY Squeezable Wax Melts Step by Step
The whole process takes under an hour from start to finish, and the ingredients list is short enough that most candle makers already have most of it on hand. Follow these steps in order and the texture comes out right on the first try.
Step 1 — Gather Your Ingredients and Equipment
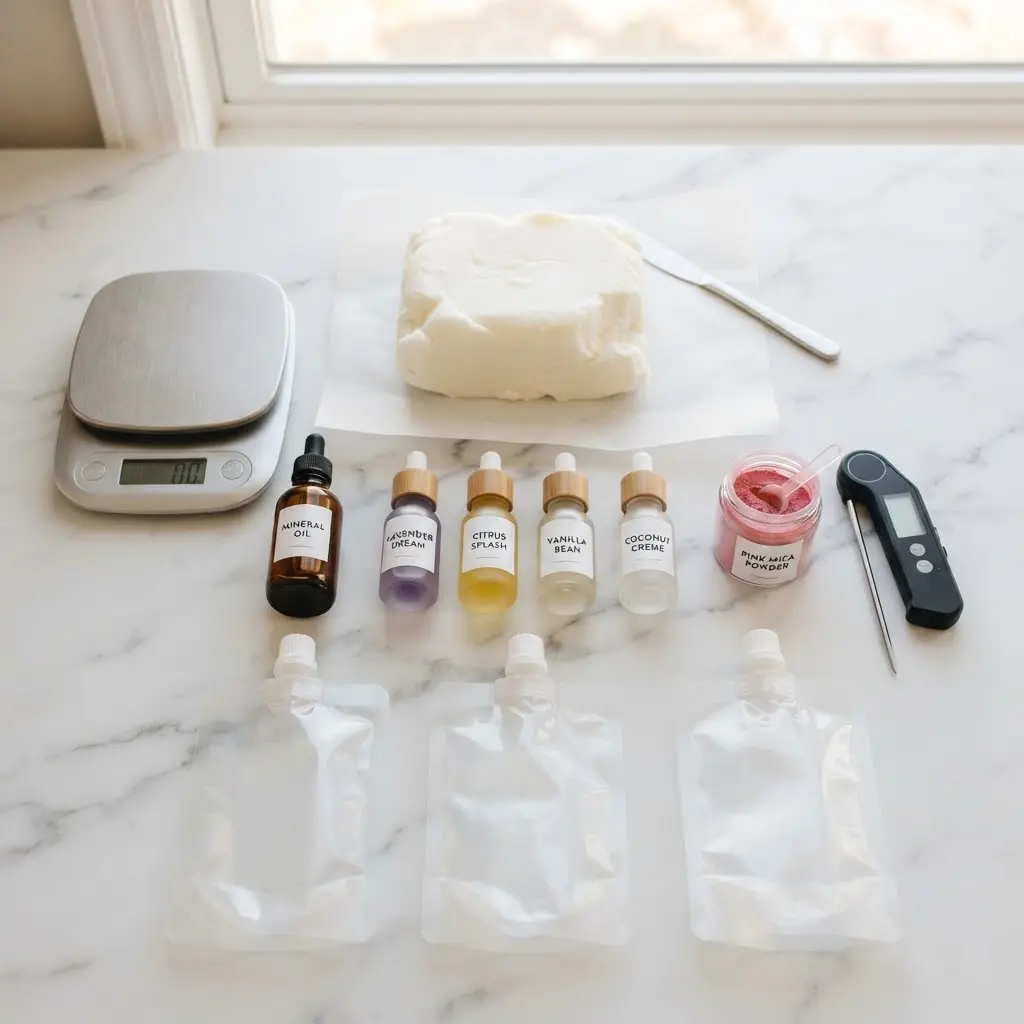
Before anything gets measured or melted, having everything within reach makes the whole process smoother and reduces the chance of the wax setting before it’s poured into the pouches.
What you need:
- Soft flexible wax blend (coconut wax or soft paraffin blend — NOT hard soy or pillar paraffin)
- Mineral oil (adds the soft, squeezable texture — typically 10-20% of wax weight)
- Fragrance oil of choice (10-12% of total wax weight)
- Colorant (liquid dye or mica powder)
- A double boiler or microwave-safe pouring pitcher
- Digital scale
- Thermometer
- Clear squeeze pouches with zip lock tops
- A spoon
- Funnel (optional but helpful for pouring into pouches cleanly)
Step 2 — Measure and Melt Your Wax
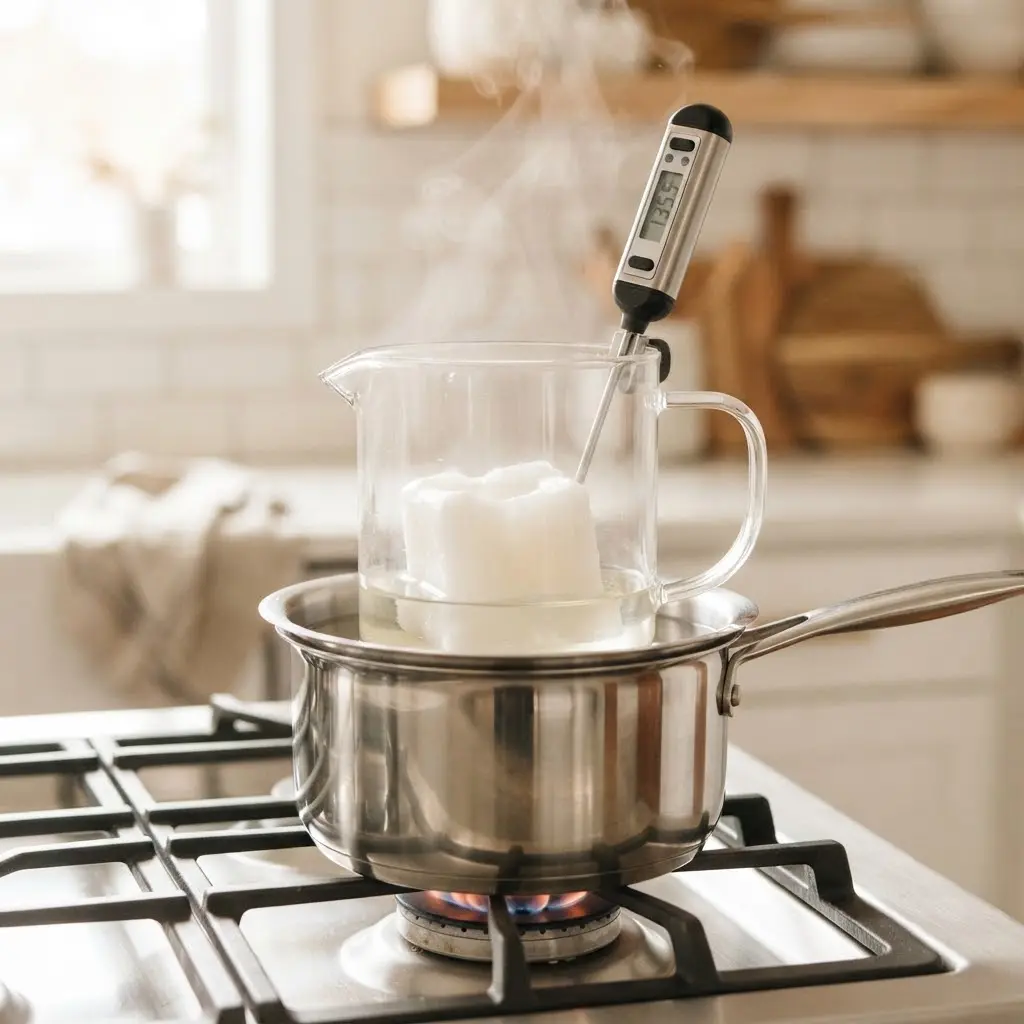
The squeezable texture in this recipe comes from a combination of soft wax and mineral oil — the mineral oil is what keeps the finished product pliable and squeezable rather than setting into a hard disc like a traditional wax melt.
Weigh out your wax on a digital scale, then melt it slowly using a double boiler or in a microwave-safe pitcher in 30-second intervals, stirring between each round. Aim for a melt temperature of around 170-180°F (76-82°C) — use a thermometer rather than guessing, since overheating affects both texture and fragrance throw once the melts are finished.
Step 3 — Add Mineral Oil
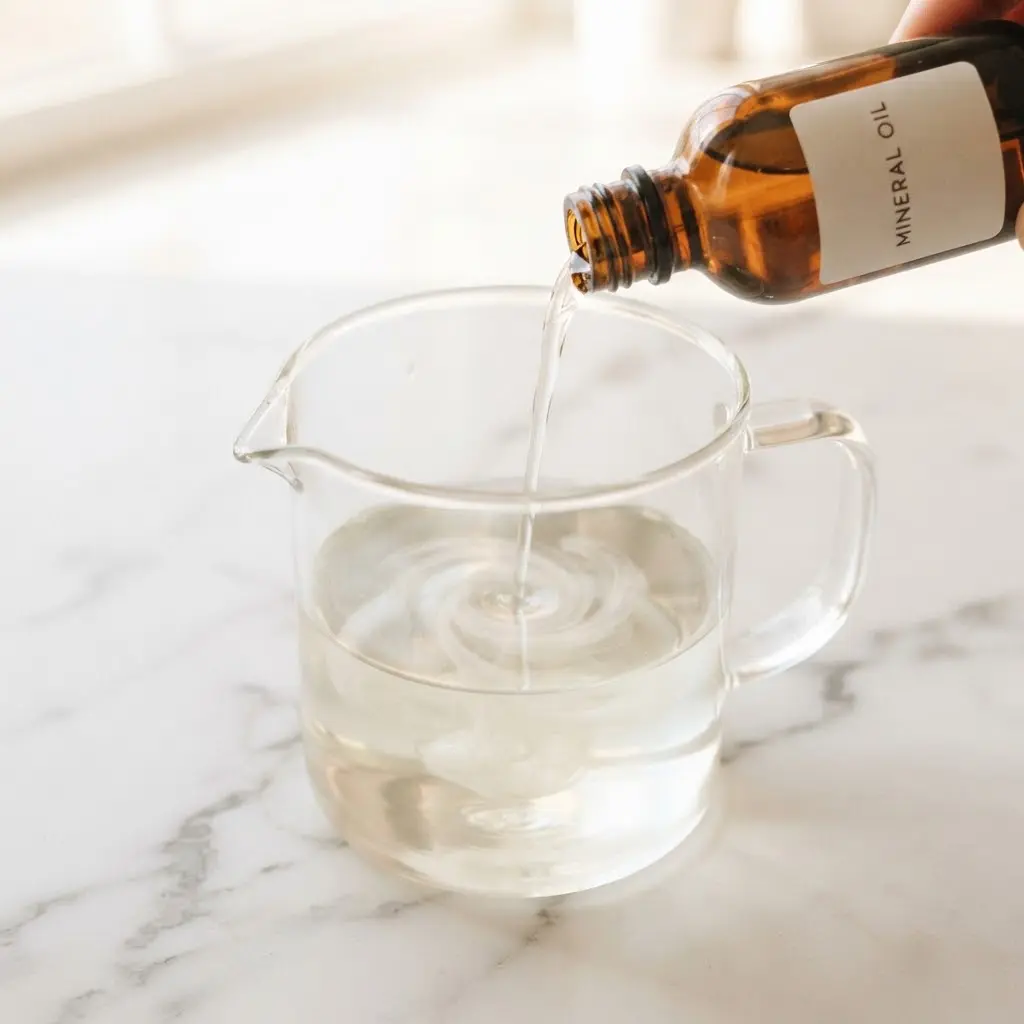
Once the wax is fully melted, add the mineral oil at this stage before color or fragrance. The mineral oil is what gives squeezable wax melts their signature soft, slightly fluid texture once cooled — without it, the finished product sets too firm to squeeze out of the pouch properly.
Add mineral oil at around 10-20% of your total wax weight, starting at the lower end for a firmer texture and increasing slightly if you want a softer result. Stir thoroughly for at least sixty seconds until fully combined before moving to the next step.
Step 4 — Add Color
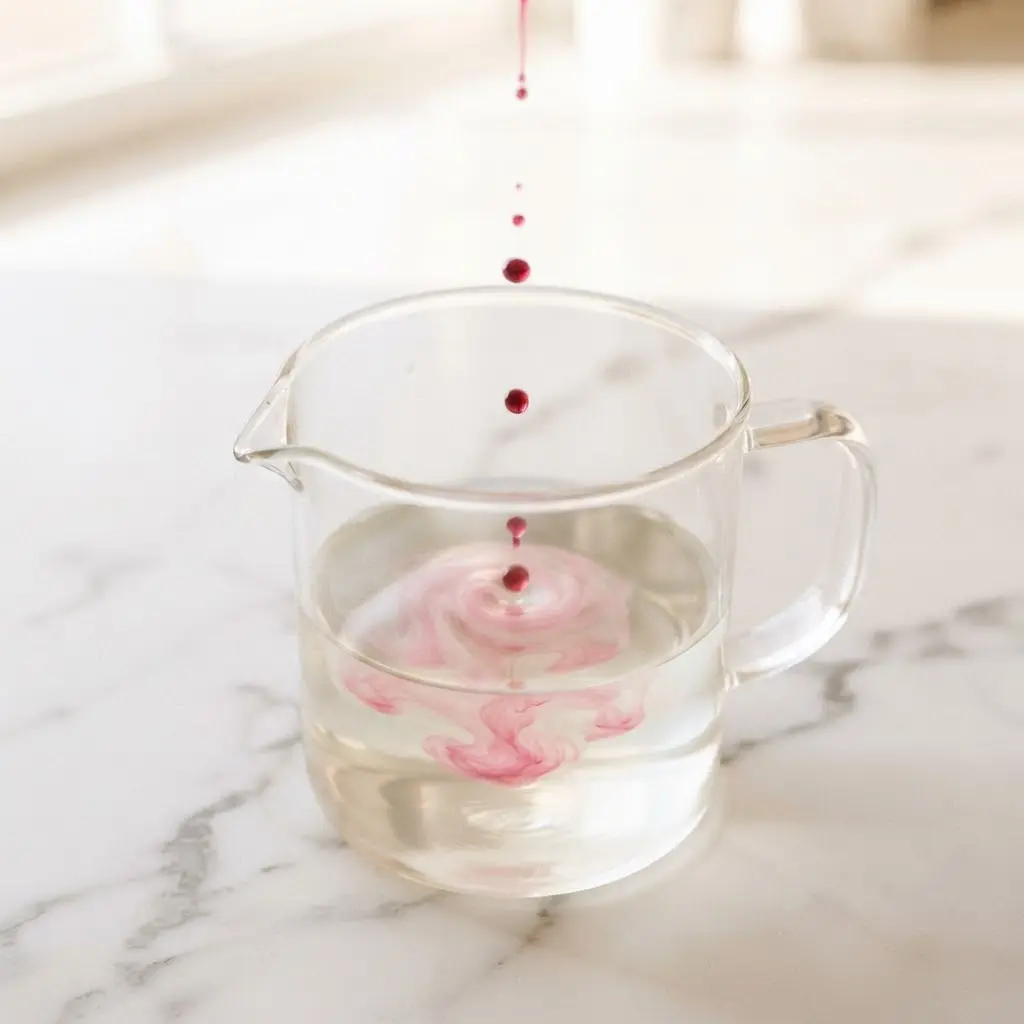
With the wax and mineral oil fully combined and still at temperature, add your colorant now before the fragrance goes in. Liquid candle dye disperses most evenly at this stage, while mica powder needs thorough stirring to avoid streaking.
Start with less color than you think you need — a small amount of liquid dye goes a long way in a light wax base, and building up gradually avoids ending up with a shade darker than intended. Stir thoroughly until the color is fully and evenly distributed throughout the melted wax.
Step 5 — Add Your Fragrance Oil
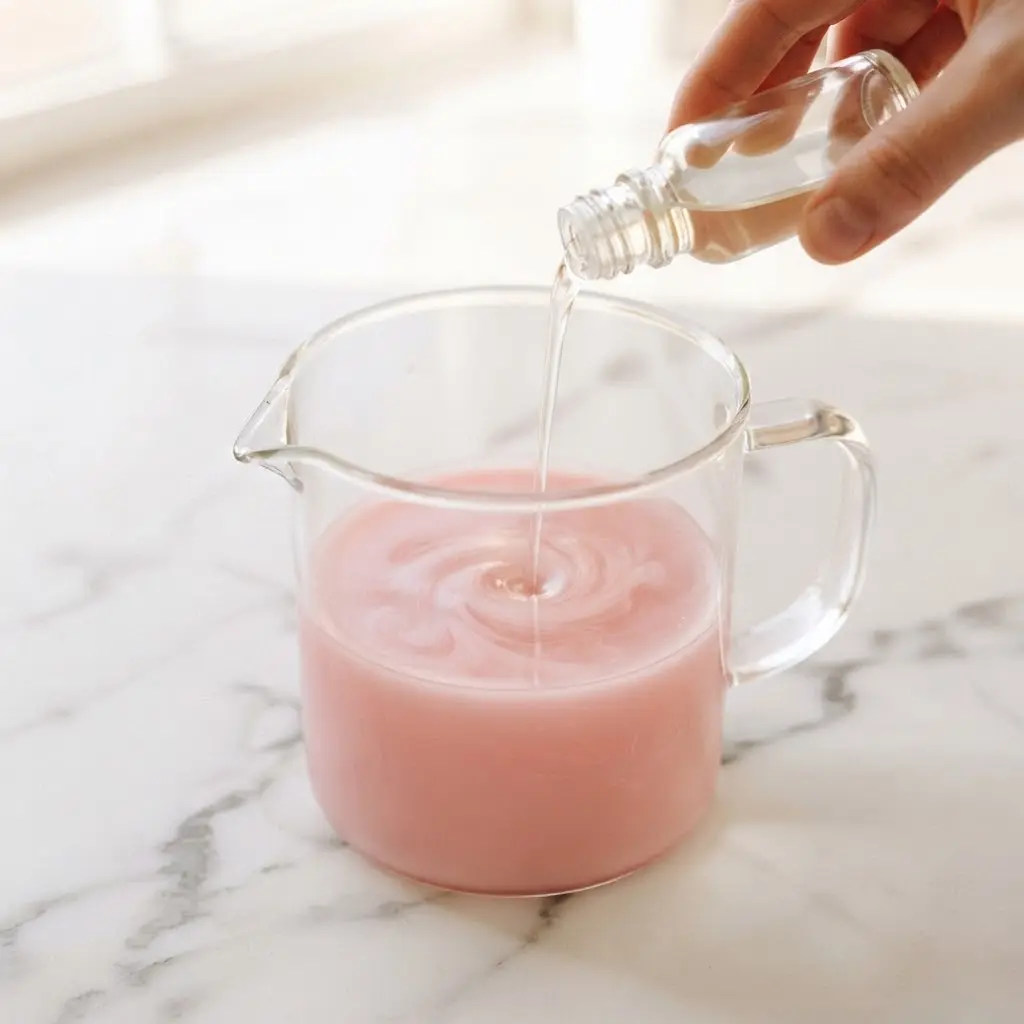
Let the melted, colored wax cool slightly to around 160-165°F (71-74°C) before adding fragrance oil — adding it too hot causes the scent to flash off, weakening the finished melt’s throw significantly.
Measure your fragrance at 10-12% of your total wax weight using the digital scale. Pour it in slowly while stirring steadily, continuing to stir for a full two minutes to make sure the fragrance is fully bound into the wax rather than sitting on the surface.
Step 6 — Pour Into Squeeze Pouches
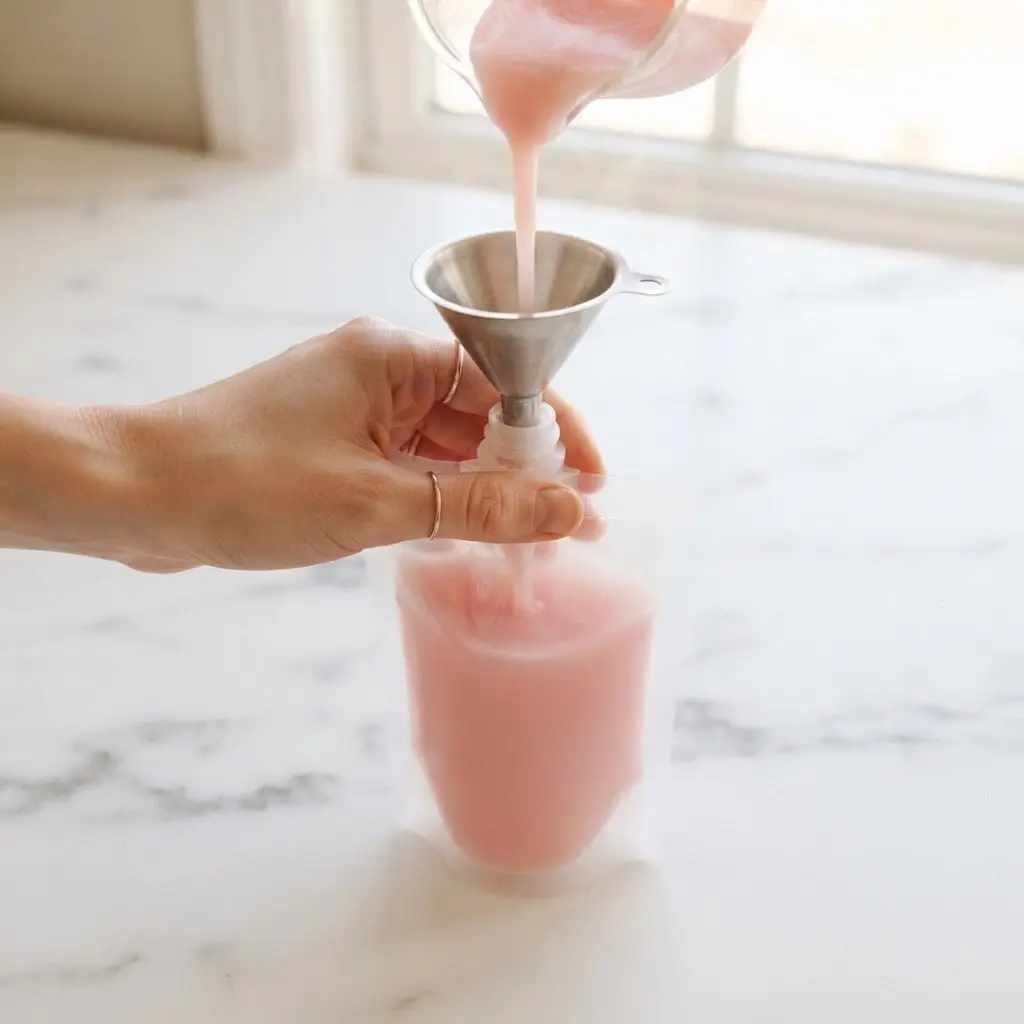
This is the step that makes this format different from every other wax melt recipe. Working quickly once the fragrance is incorporated, pour the wax into clear stand-up squeeze pouches while it’s still fully liquid — around 150-155°F (65-68°C).
Use a funnel if available to keep the pour clean and avoid wax dripping down the outside of the pouch. Fill each pouch to about two-thirds full rather than all the way to the top, leaving enough space at the top to seal cleanly. Screw the spout cap back on immediately after filling, before the wax begins to set.
Step 7 — Let Them Cool and Set
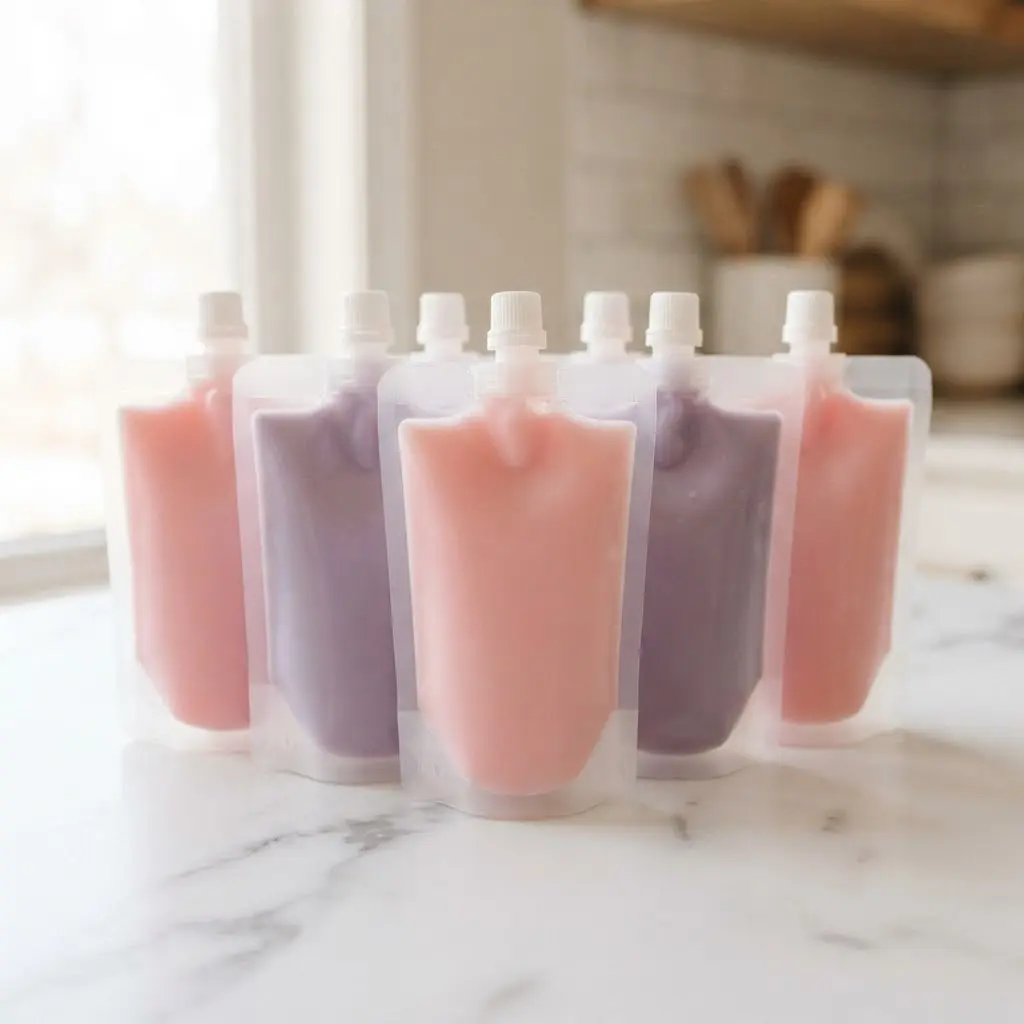
Stand the filled, sealed pouches upright and leave them completely undisturbed at room temperature for at least two to four hours, or until the wax is fully opaque and set throughout. Don’t move them to the fridge to speed up the process — rapid cooling causes uneven setting and can affect the final texture.
Once fully cooled, the pouch should feel soft and slightly yielding when gently squeezed — pliable enough to push wax out of the pouch easily, but firm enough to hold its shape. If the texture feels too hard to squeeze, increase the mineral oil percentage slightly on the next batch.
Step 8 — Label and Package for Sale or Storage
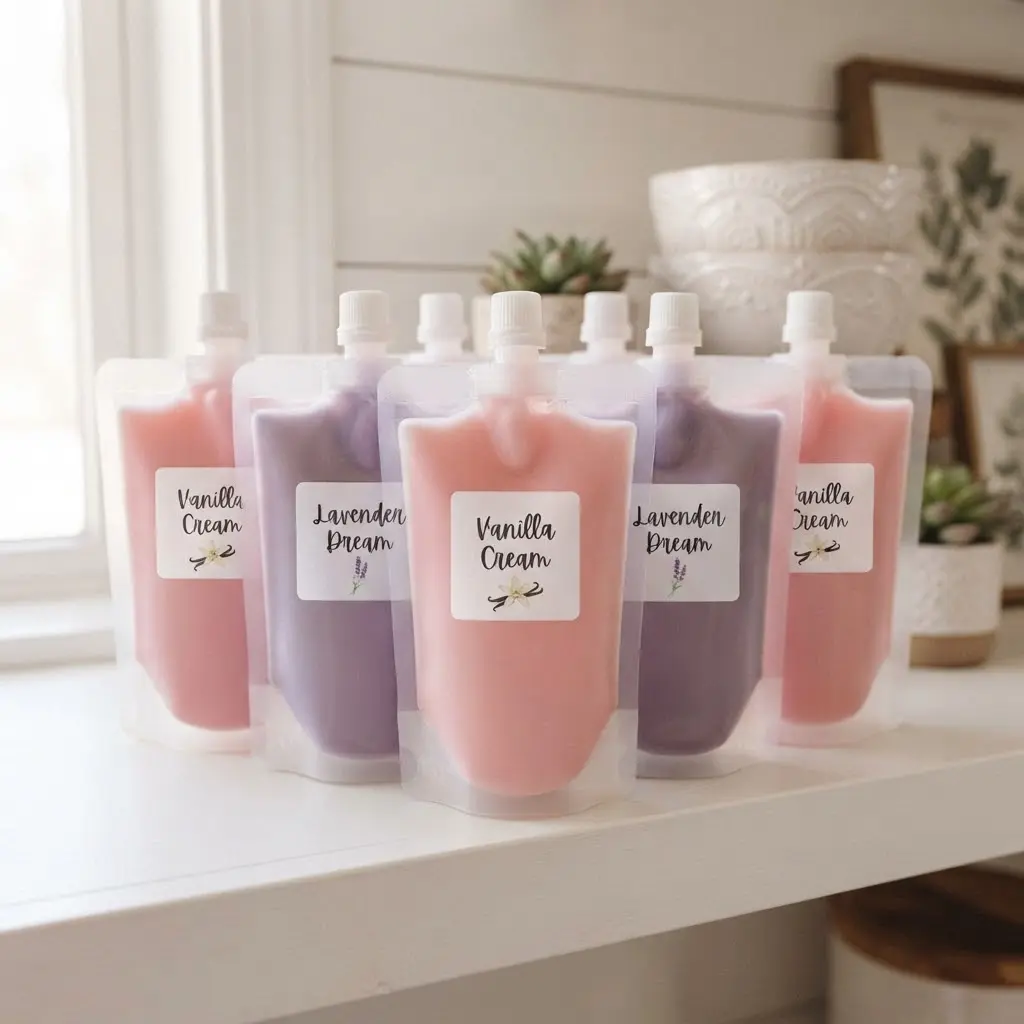
Once fully set, the pouches are ready to label. A simple white label applied to the front of the spout pouch keeps the wax visible through the packaging — customers can see the color and texture before they even pick it up.
For business use, include the fragrance name, weight, usage instructions, and any relevant safety information on the label. For personal use or gifting, even a simple handwritten tag tied around the pouch gives the finished product a considered, intentional feel.
Squeezable wax melts in pouches reward the people who make them twice over — once in the making, because watching the colored wax fill a clear pouch is genuinely satisfying, and again every time someone picks one up, gives it a squeeze, and catches the scent released just from the pressure before it even goes near a burner. For hobbyists, they’re a fun, low-cost project that makes an incredible gift. For candle business owners, they’re one of those products that sells on scent, texture, and packaging simultaneously — a rare combination in a category as crowded as wax melts. Make the first batch, adjust the mineral oil ratio if needed, and then make a much bigger one.
FAQ
What wax is best for squeezable wax melts in pouches?
A soft, flexible wax blend — either a soft coconut wax or a flexible paraffin blend — works best when combined with mineral oil. Hard soy wax or standard pillar paraffin sets too firm for the squeeze pouch format and won’t give the right texture regardless of how much mineral oil is added.
How do you use squeezable wax melts?
Uncap the spout, squeeze a small amount of wax directly from the pouch into a wax warmer dish, then recap the spout and store the rest for next time.
How long do diy squeezable wax melts in pouches last?
Stored at room temperature away from direct sunlight, squeezable wax melts in sealed pouches typically hold their scent for six to twelve months, though this varies depending on the fragrance oil used and how well the pouch is sealed between uses.
Can I sell squeezable wax melts as a candle business product?
Yes, and they tend to perform very well as a market or Etsy product because the clear pouch packaging makes the product visible and the squeezable format is genuinely novel enough to stop people mid-scroll. Once the recipe is dialed in, they’re straightforward to produce in large batches and photograph extremely well for product listings.