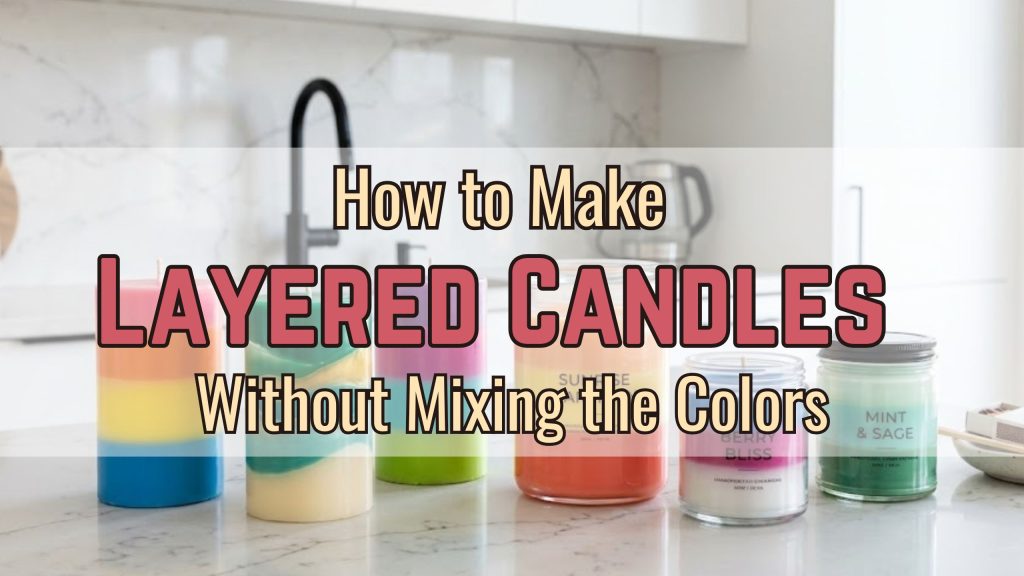
Learning how to make layered candles at home is one of those candle making skills that looks incredibly impressive but is actually much easier than it appears — as long as you know the one secret that keeps every layer clean and separate.
That secret? Temperature and patience. Those two things are the entire difference between a layered candle with crisp, beautiful bands of colour and one where everything bleeds together into a muddy mess. Most beginners rush the cooling process, pour their second layer too soon, and end up disappointed. This guide is going to make sure that never happens to you.
Whether you want to make a simple two-colour candle or a full rainbow of candle layers, this guide covers every step — from choosing your wax and colours all the way to the final pour. Let’s get into it.
Affiliate Disclosure: This article contains affiliate links which means we may earn a commission at no extra cost to you. You can check our affiliate disclosure page here.
Everything You Need to Make Layered Candles at Home
Your Supply List for Layered Candle DIY
Before you start, gather everything you need so the process runs smoothly. Stopping mid-pour to hunt for supplies is how mistakes happen.
You will need:
- Soy wax or paraffin wax (soy is recommended for beginners — it is forgiving and easy to work with)
- Candle dye blocks or liquid dyes in your chosen colours
- Fragrance oils (one per layer if you want layered scented candles, or one scent throughout)
- Wicks (pre-tabbed and pre-waxed, sized for your jar diameter)
- Glass jars or containers (straight-sided jars work best for showing off clean layers)
- A double boiler or wax melter
- A digital thermometer
- A stainless steel pouring pitcher (one per colour layer, or rinse and dry between pours)
- Wick centring bars or clothespins to hold your wick straight
- A digital scale
Optional but helpful:
- A heat gun (for smoothing any surface imperfections between layers)
- Masking tape (to label each pitcher with its colour)
How to Make Layered Candles: Step-by-Step
Step 1: Prepare Your Jars and Wicks
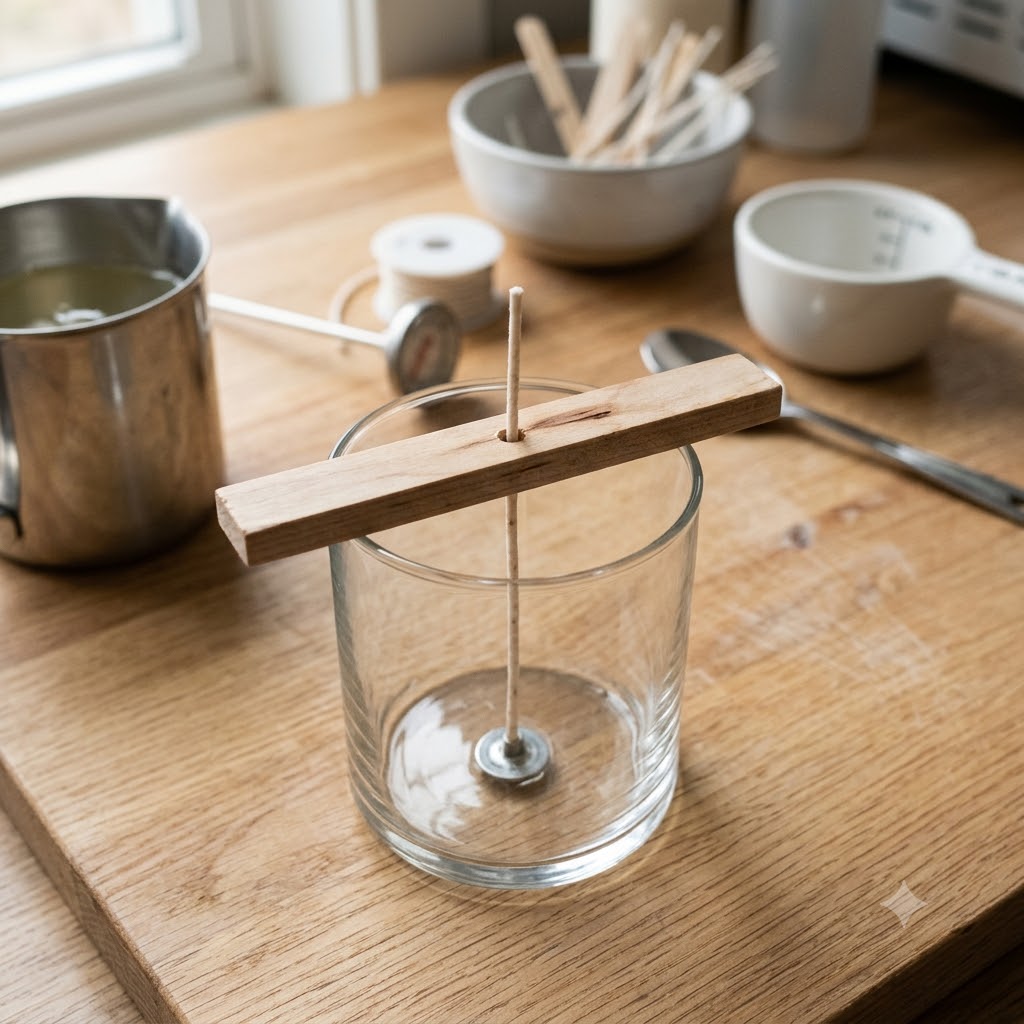
Start by securing your wick in the centre of each jar. Feed the wick tab through a wick centring bar or balance a clothespin across the top of the jar with the wick held in the centre. The wick must stay perfectly straight for the entire process — a crooked wick affects how every layer burns.
Make sure your jars are clean, dry, and at room temperature. Cold jars cause the first wax layer to pull away from the glass as it sets, which creates gaps and uneven edges. If your room is cool, warm the jars slightly with a hair dryer before your first pour.
Step 2: Melt and Colour Your First Layer
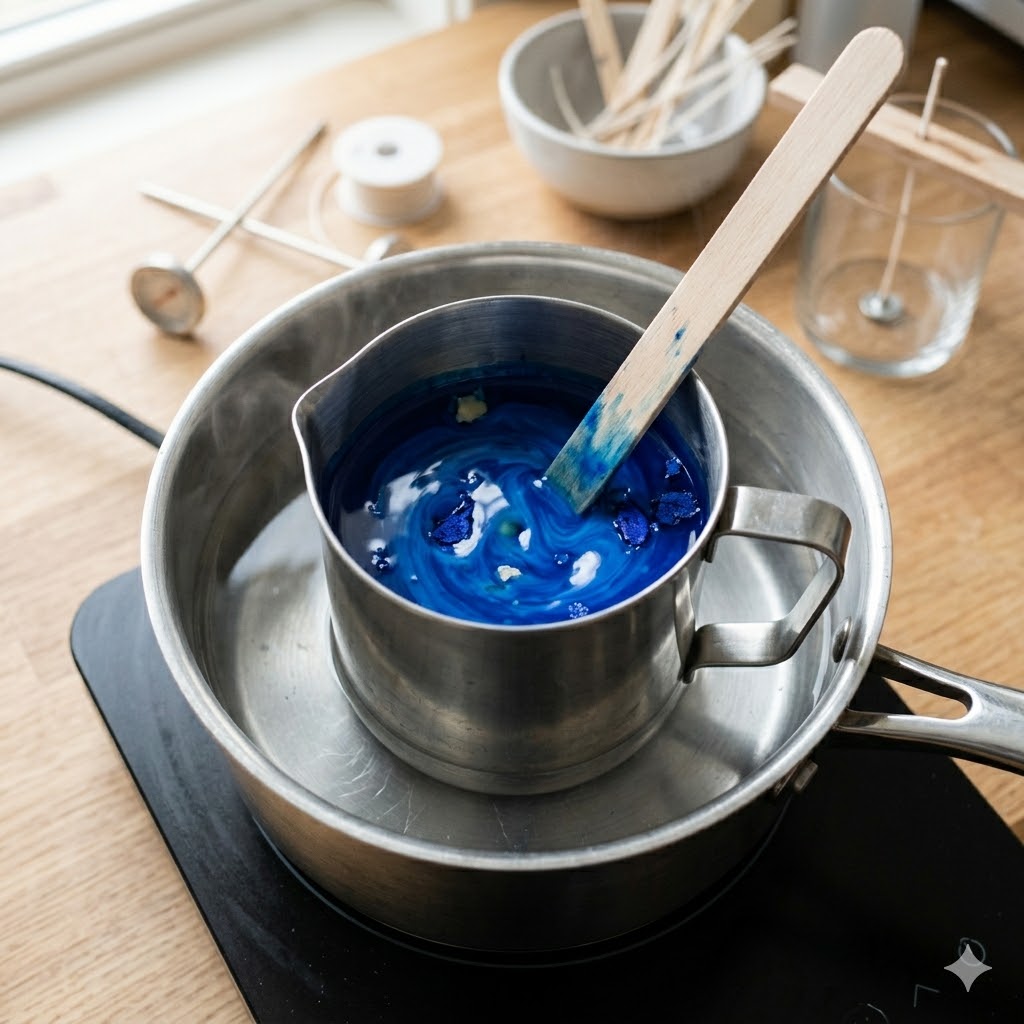
Measure out the wax for your first layer by weight — not volume. For a standard 8oz jar making three equal layers, you need approximately 2.5–3oz of wax per layer (wax shrinks as it cools, so always measure a little more than you think you need).
Melt your wax in your double boiler until fully liquid, then add your dye. Start with a small amount of dye — you can always add more to deepen the colour but you cannot take it out. Stir slowly and thoroughly until the colour is completely even throughout.
Add your fragrance oil when the wax reaches the recommended temperature for your wax type — typically around 140–150°F for soy wax. Stir gently for 30–60 seconds.
Dye tips for beautiful layered candles:
- Dye blocks give more control than liquid dye for beginners
- Shave a small amount off the block with a knife rather than dropping in a chunk
- Test your colour by dipping a white piece of paper into the wax — the colour will appear lighter when the wax cools and sets
- Plan colours that look beautiful together — analogous colours (blue and purple, pink and orange) or contrasting brights (yellow, orange, red) both work beautifully
Step 3: Pour Your First Layer — and Wait
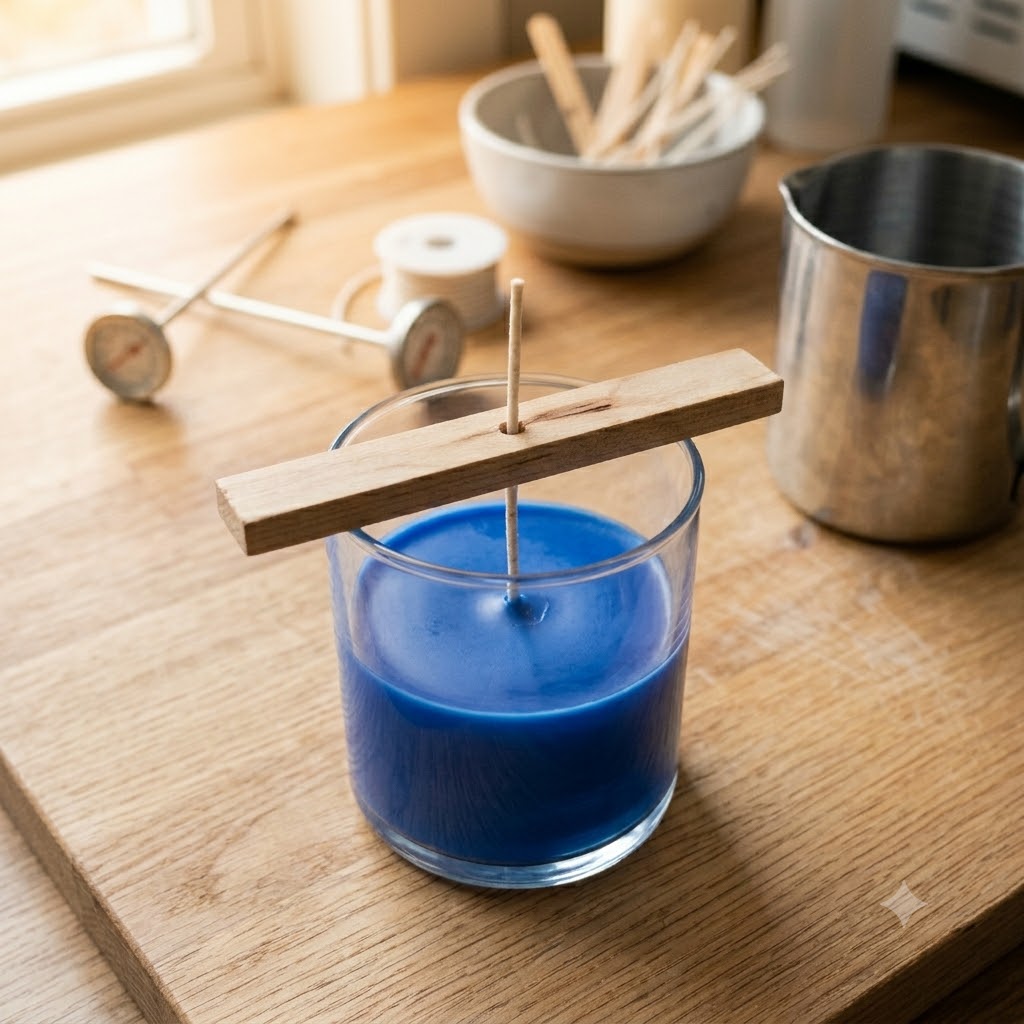
This is the most important step in making homemade layered candles without colour mixing. Pour your first layer at around 135–145°F for soy wax. Do not pour at maximum temperature — slightly cooler wax creates a better bond with the next layer and sets with fewer sinkholes.
Pour slowly and evenly to your first line — about one third of the jar height if you are making a three-layer candle, or whatever proportion you want for your design.
Now comes the part that decides everything: wait.
Your first layer needs to be firm enough to support the next pour without the colours bleeding into each other — but not so fully set that the layers do not bond and separate later. The sweet spot is when the wax looks opaque and matte on top but still feels slightly warm to a very gentle touch. This usually takes 60–90 minutes at room temperature.
Do not put it in the fridge to speed this up. Rapid cooling causes cracking and stress fractures in the wax.
Step 4: The Temperature Test Before Pouring the Next Layer
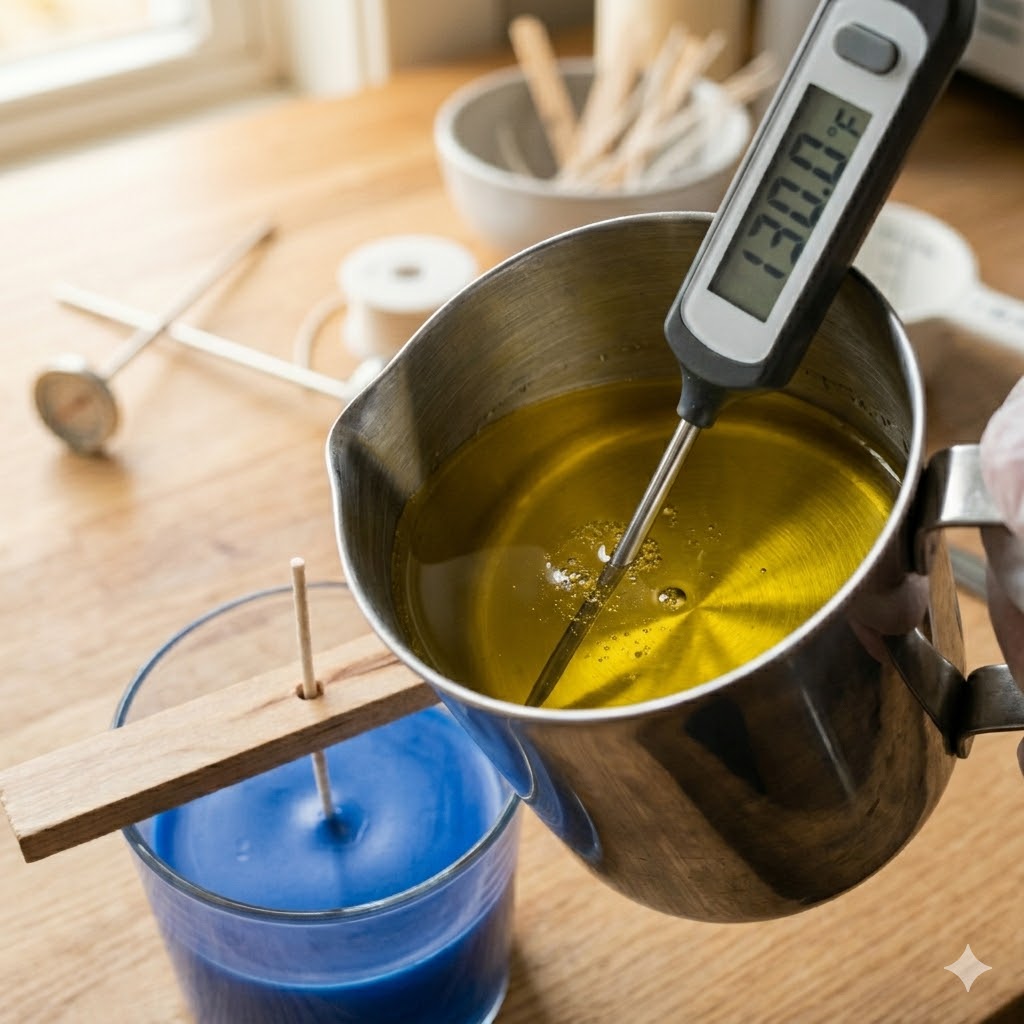
Before you pour your second layer, you need to check two temperatures — and this is the step most guides skip that causes all the problems.
The set layer temperature: Touch the surface of the first layer very gently. It should feel firm and cool — not soft, not warm. If it is still warm, wait longer. A warm first layer will partially melt when the new hot wax lands on it and the colours will bleed together.
The new wax pouring temperature: Your second layer wax should be poured at a slightly lower temperature than your first — around 125–135°F for soy wax. Pouring hot wax onto a set layer remelts the surface. Cooler wax sits on top of the set layer cleanly and creates that crisp colour boundary you are aiming for.
This temperature combination — fully set first layer + cooler second pour — is the entire secret to multi colored candles with clean, sharp lines between every colour.
Step 5: Pour Your Second Layer
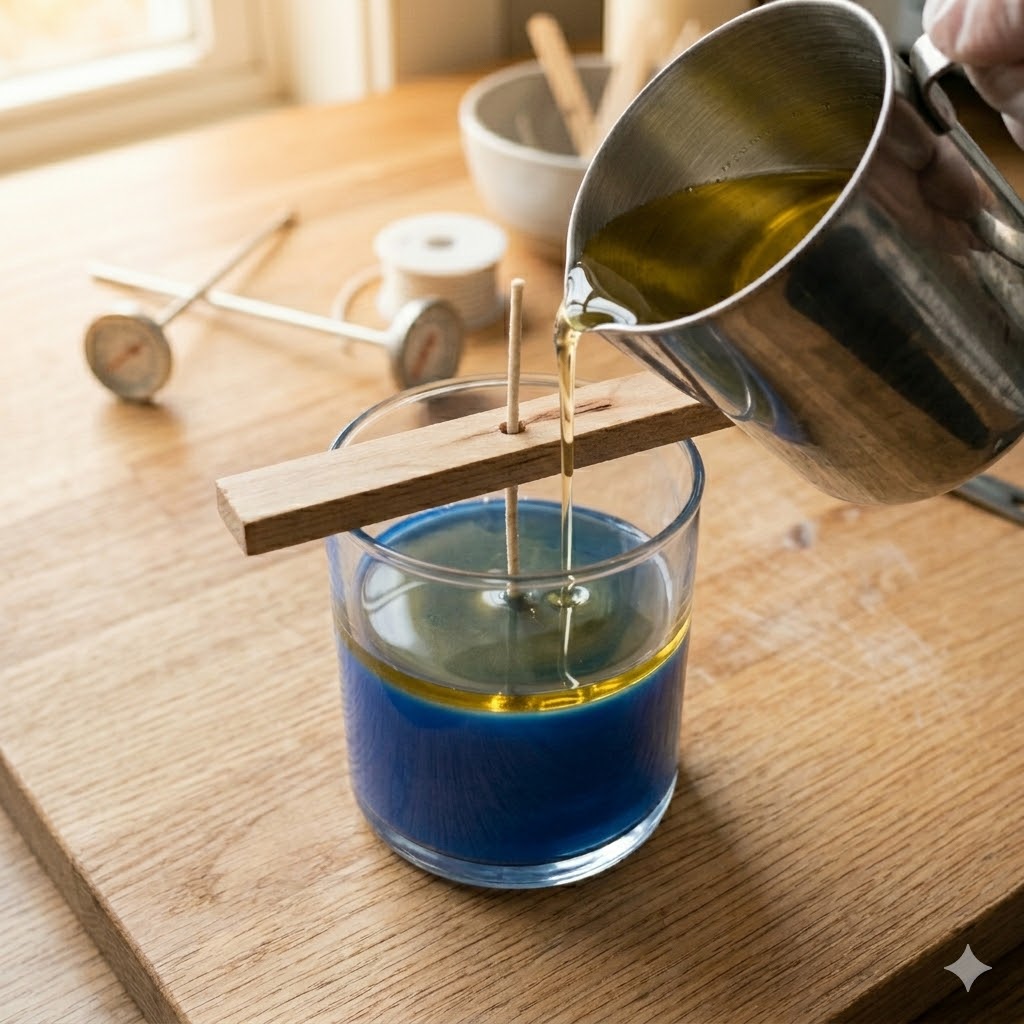
When your first layer is fully firm and your second wax is at the right pouring temperature, pour slowly and carefully.
The most important technique here: pour down the side of the jar, not directly onto the set layer. Tilt the jar slightly (if possible) or use your pouring pitcher to direct the wax to run gently down the inner wall of the jar before settling on top of the first layer. This distributes the heat of the new wax gradually rather than blasting one spot on the set surface.
Pour to your second mark, check your wick is still centred, and wait again. Same rules apply — fully firm, slightly warm on touch, 60–90 minutes minimum before your next pour.
Step 6: Repeat for Each Additional Layer
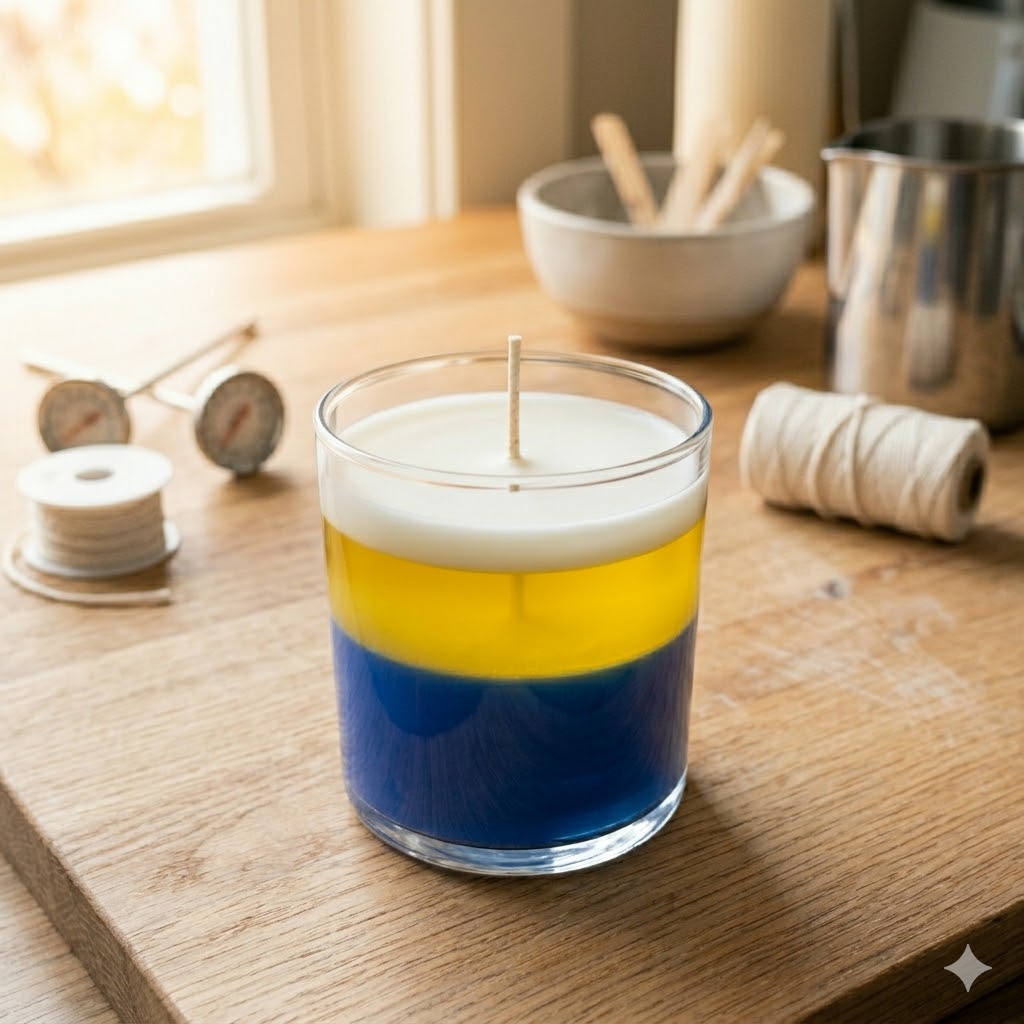
The same process applies to every additional layer you add. Melt, colour, fragrance, check temperature, pour slowly, wait. For a three layered candle, you will have three rounds of this. For five layers, five rounds.
A few extra tips for candles with more than three layers:
- Keep a note of how much dye you used for each colour so you can replicate it exactly if you want to make more
- For colorful layered candles with gradient effects, use the same colour but increase the dye concentration slightly with each layer — pale at the bottom deepening to rich and saturated at the top
- For a clean ombre effect, use colours that are adjacent on the colour wheel — the slight blending at each boundary will look intentional and beautiful rather than like a mistake
Step 7: The Final Set and Finishing
After your last layer is poured, leave the candle completely undisturbed for a minimum of 24 hours before touching, moving, or trimming. Candles need this full curing time to harden properly, allow the fragrance to bind with the wax, and develop their final surface finish.
After 24 hours:
- Trim the wick to 5–6mm above the wax surface
- If any layer has developed a small sinkhole (a slight dip around the wick), do a small top-up pour with wax from your last layer at a low temperature
- Use a heat gun on the lowest setting to smooth the surface if needed
Your layered jar candle is now ready. Before selling or gifting, always do a full burn test — burn for 4 hours and check that each layer burns evenly and the scent throws correctly throughout.
Layered Candle Design Ideas to Try
Colour Combinations That Work Beautifully
Part of the joy of candle making designs is experimenting with colour combinations that work together in unexpected ways. Here are some tried-and-tested combinations for stunning diy layered candles:
Warm and earthy: terracotta, cream, and deep brown — perfect for autumn and winter
Cool and fresh: pale blue, white, and soft mint — beautiful for spring and summer
Romantic: blush pink, dusty rose, and burgundy — ideal for Valentine’s Day or wedding gifts
Tropical: coral, yellow, and bright turquoise — vibrant and joyful, great for summer collections
Moody and luxe: charcoal black, deep navy, and gold — dramatic and premium-feeling
Layered Scented Candle Ideas
For layered scented candles where each layer has its own fragrance, choose scents that complement each other — you will smell all of them as the candle burns through.
Beautiful scent pairings for layered candles include vanilla base with cinnamon middle and apple top note, or sandalwood base with jasmine middle and bergamot top. Think of it like perfume — a base note, a heart note, and a top note that together create something more complex and beautiful than any single scent alone.
Troubleshooting: Why Are My Layers Mixing?
Even when you follow the steps carefully, sometimes things go wrong. Here are the most common problems with candle layering and exactly how to fix them.
The colours are bleeding into each other: Your first layer was not fully set when you poured the second. Next time, wait longer — when in doubt, add another 30 minutes.
There is a gap between the layers: You poured the new layer too cold and it did not bond properly to the set layer. Try pouring at a slightly higher temperature — around 135°F rather than 125°F.
The surface of each layer looks cracked or rough: The room temperature dropped too quickly during cooling, or there is a draft near your candles. Move them somewhere still and consistently warm.
The wax pulled away from the glass on one side: The jar was too cold when you started. Warm your jars before pouring.
The wick moved off centre during pouring: The pour pressure shifted it. Next time, secure the wick more firmly with tape at the base and check it after every single pour.
Final Thoughts on How to Make Layered Candles
How to make layered candles cleanly and confidently comes down to one thing — respecting the process. The wax needs the time it needs. The temperatures matter. The patience pays off.
Once you make your first perfect layered candle — those crisp clean bands of colour sitting exactly where you put them, the wick straight and centred, the surface smooth — you will understand why so many candle makers get completely hooked on this style. It is one of the most satisfying things you can create in candle making at home, and it is a product that genuinely stands out in a crowded candle market.
Start with two layers. Get confident with the process. Then try three, four, five. Try gradient effects. Try seasonal colour palettes. Try pairing scents across layers. The possibilities for handmade candles ideas with layering are genuinely endless — and every one of them starts with the same simple foundation you now have. Go pour something beautiful.
Related:
How do I pour if I WANT the colors to
blend slightly? Rather than a distinct line between colors I would like them to change gradually.
Great question, Cara! To get a gradient blend instead of sharp lines, try pouring at slightly lower temperatures (5-10°F cooler) so the wax is more fluid and mixes at the edges. You can also tilt the jar slightly while pouring to let the colors naturally blend. Some makers even use a thin metal skewer to gently swirl the layers together right after pouring. Let us know how it turns out!