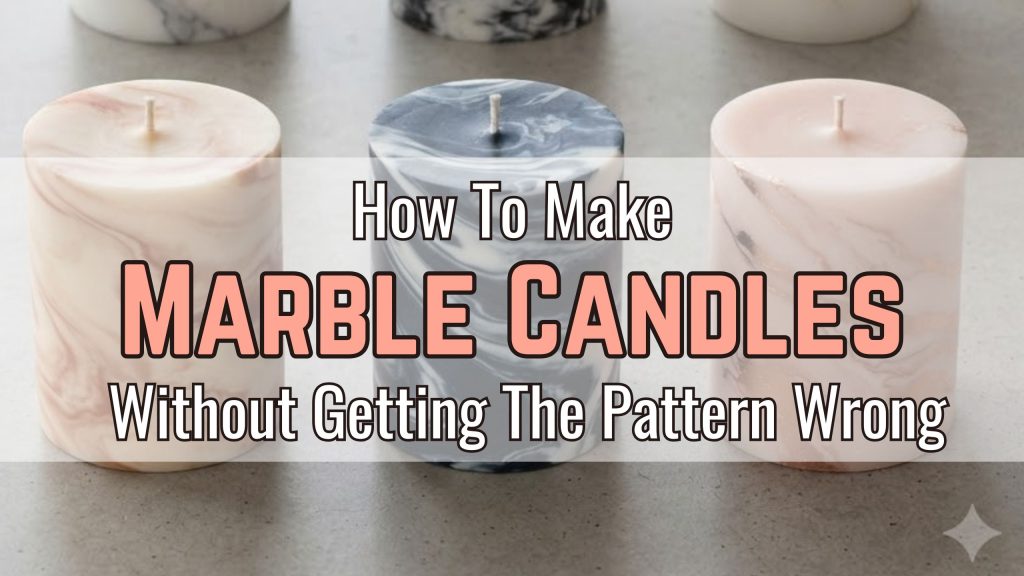
Nobody is going to believe you made these yourself.
That is genuinely the reaction most people have the first time they see a marble candle — that swirling mix of colour through white wax, the way the veins catch the light, the way the whole thing looks like it belongs in a design magazine rather than on your kitchen counter. And here is the thing: they are not difficult. Not even close. Once you know the trick behind the marble effect, you will look at a plain white candle and immediately see the potential in it.
Marble candles have become one of the most shared candle making ideas on Pinterest and Instagram for a reason. They sit perfectly in the aesthetic space between art and function — something genuinely beautiful that also burns. Whether your home leans minimal and modern, maximalist and creative, or somewhere warmly in between, there is a marble colour combination that belongs in it.
This guide shows you every method, every technique, and every small decision that takes a marble candle from “looks okay” to “how did you do that.”
Affiliate Disclosure: This article contains affiliate links which means we may earn a commission at no extra cost to you. You can check our affiliate disclosure page here.
The Two Methods — Pick Your Marble
Before anything else, you need to know that there are two distinct ways to create a marble effect candle, and they produce completely different looks. Both are gorgeous. Both are worth knowing.
Method 1: The Swirl Pour (True Marble)
This is the original and most dramatic marble technique. You pour two or more colours of wax into the same container at the same time — or in very quick succession — and use a skewer to swirl them together before they set. The result looks like genuine marble cut stone, with deep veining and sweeping colour movement throughout the entire candle.
This method works best in container candles — glass jars, ceramic pots, any vessel you can see through or cut away. The marble effect lives inside the candle as much as on the surface.
Method 2: The Dip or Paint Method (Surface Marble)
Here you start with a plain white or light-coloured candle — either one you have poured or a store-bought one — and apply colour to the outside surface to create a marble effect. Melted wax in a contrasting colour is dripped, brushed, or swirled onto the candle’s exterior. The result is more controlled, more graphic, and slightly more modern-looking than the swirl pour.
This method works beautifully on pillar candles, tapers, and votives where the candle itself is the visible object rather than a container.
What You Need
The supply list is short. Most of what you need you probably already have if you have made candles before — but a few items are specific to the marble technique.
For Method 1 (Swirl Pour):
- Container wax (soy wax, coconut wax, or a soy-paraffin blend)
- Two to three candle dye colours — one of which should be white or very light
- Pouring pitchers — one per colour
- A digital thermometer
- A skewer, chopstick, or thin butter knife for swirling
- Your chosen candle containers — clear glass shows the marble effect most dramatically
- Wicks, pre-tabbed and centred
For Method 2 (Dip or Paint Method):
- A plain white pillar candle or taper (pre-made or poured)
- A small amount of paraffin wax or concentrated wax medium
- Candle dye in 1–2 accent colours — grey, black, gold, and deep jewel tones all work beautifully for a realistic marble look
- A fine paintbrush or skewer for applying veins
- A shallow wide bowl or dipping container (if dipping rather than painting)
For both methods:
- A digital scale
- A double boiler or wax melter
- A silicon mat — marble candle making can be messy and wax drips stain
Method 1: How to Make Marble Candles With the Swirl Pour
Set Up Your Colours First
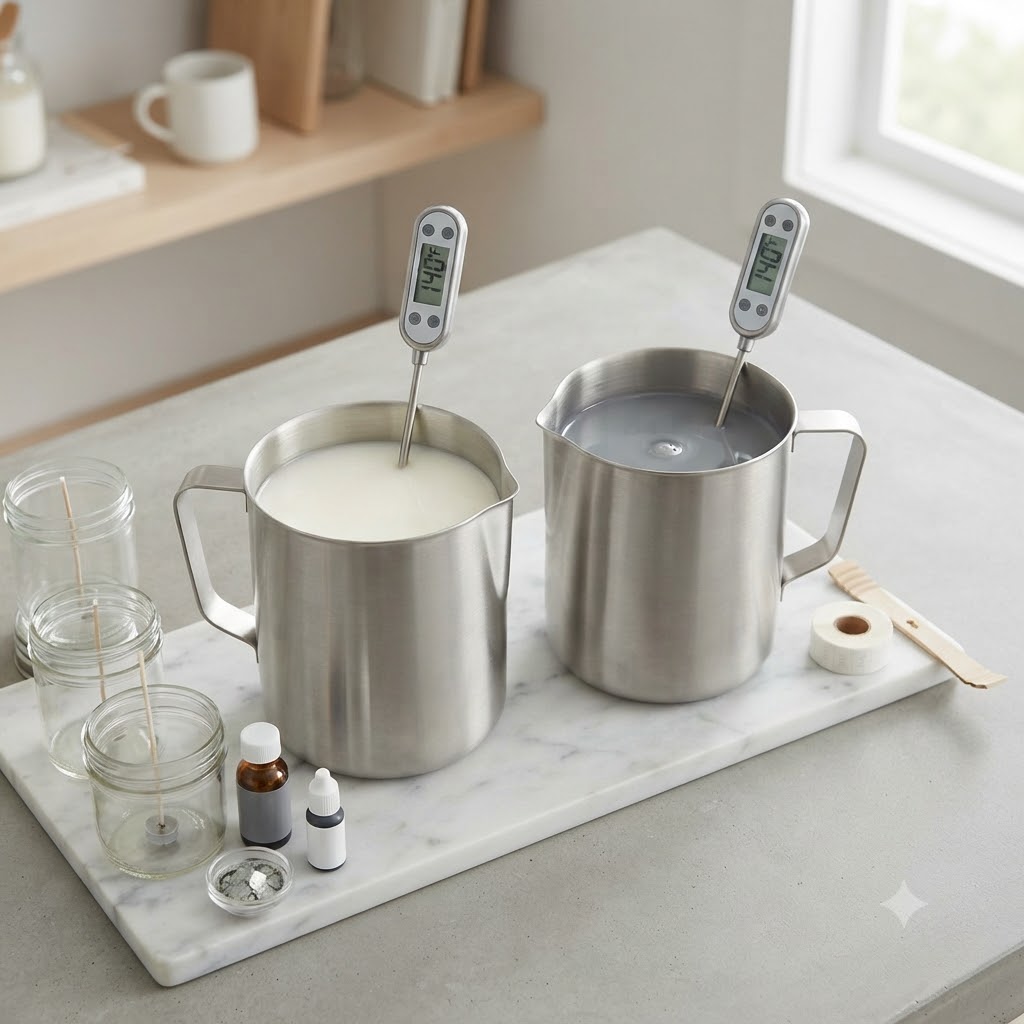
Melt your wax and divide it between your pitchers — one pitcher per colour you plan to use. For a classic white and grey marble, fill one pitcher with white-tinted wax (a generous amount of white dye block or titanium dioxide) and another with a grey or charcoal tinted wax. The white should be your dominant colour — roughly 70–80% of the total — with the darker or accent colour making up the rest.
Heat both pitchers to the same pouring temperature — around 135–145°F for soy wax — and keep both warm simultaneously. The timing of the pour is everything in this technique. If one wax sets before the other, the swirl will not work. Both waxes need to be liquid and at the same temperature when they meet in the jar.
The Pour — Slow and Deliberate
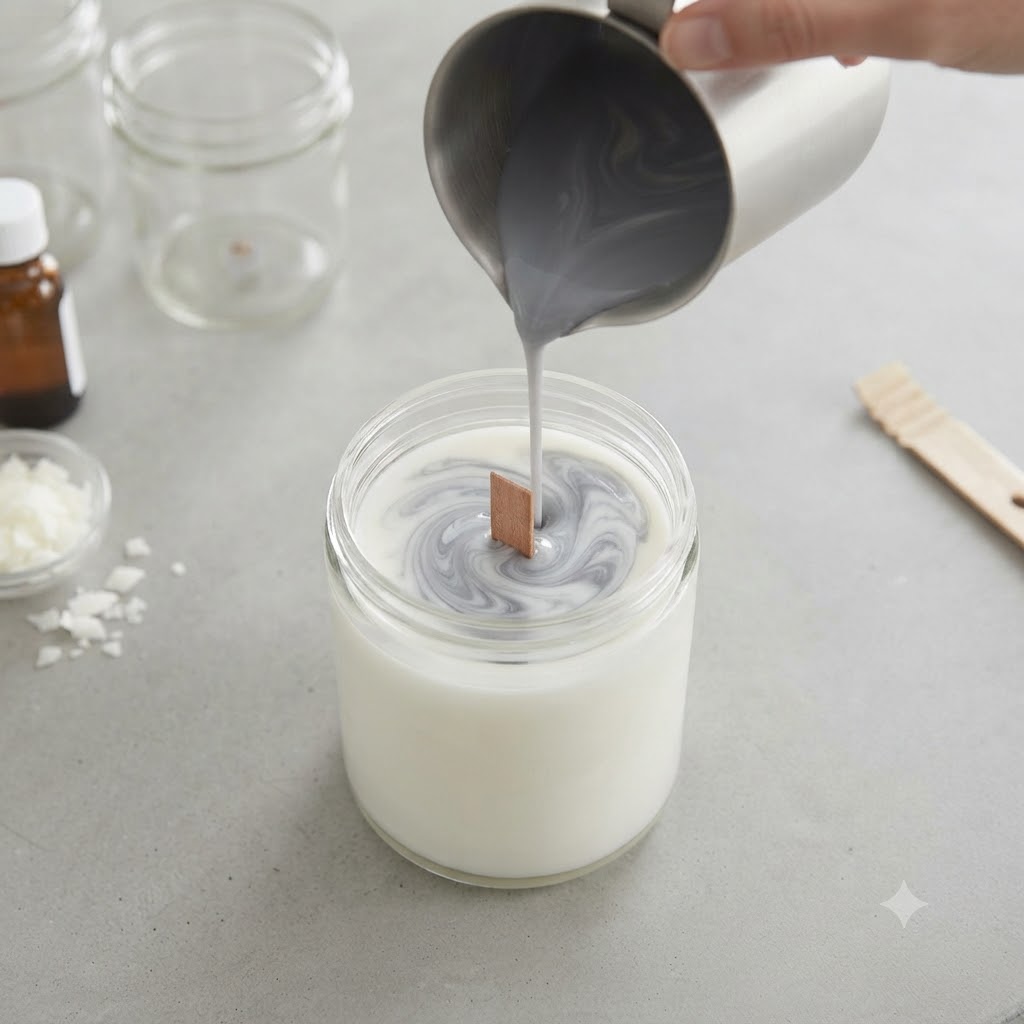
This is where the marble candle making process either becomes art or becomes mud — and the difference is restraint.
Pour your dominant colour (white) into the jar first, filling it to about halfway. Then, slowly and in a thin stream, pour your accent colour into the same jar. Do not pour it in one spot — move the pitcher slightly as you pour so the colour lands in different areas across the surface and drips through the white wax below. This is what creates the layered depth of real marble.
Stop pouring the accent colour when you have used roughly 20–30% of your total wax. Less is always more with the dark colour in marble — real marble is mostly white or light stone with veins of colour, not colour with veins of white.
The Swirl — The Most Important Moment
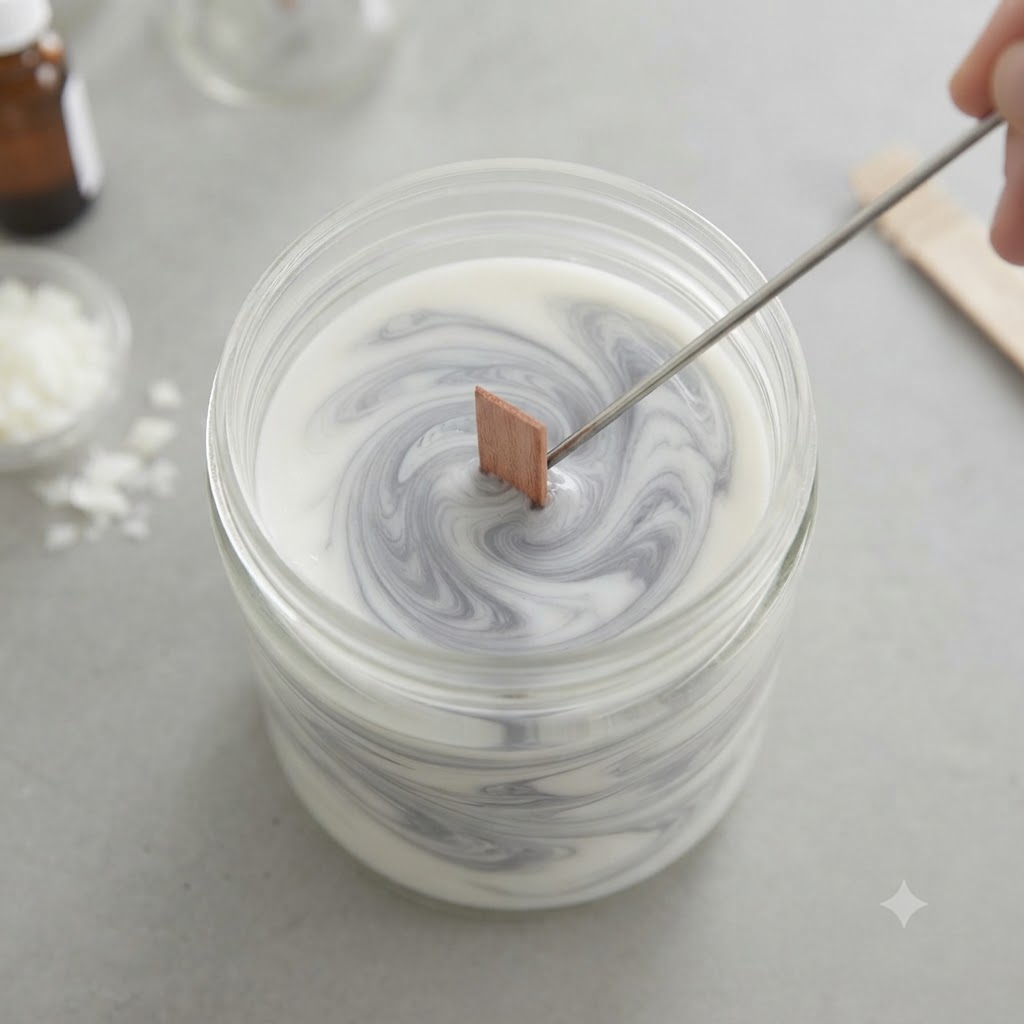
Before the wax begins to set — you have approximately 60–90 seconds from when both colours are in the jar — take your skewer and drag it slowly through the wax in long, sweeping curves. Do not stir. Do not make circles. Think of the natural shape of marble veining — it moves in one direction predominantly, with occasional branching, not in swirls.
Two or three slow passes with the skewer in a gentle S or Z shape through the jar is usually all it takes. Then stop. Over-swirling is the most common mistake in marble candles diy — it turns everything into a blended grey mess rather than a clean marble effect. The most beautiful marble candles are the ones where the maker put the skewer down while they still wanted to do one more pass.
Set the jar down and do not touch it again until fully cooled.
Cooling and the Second Pour
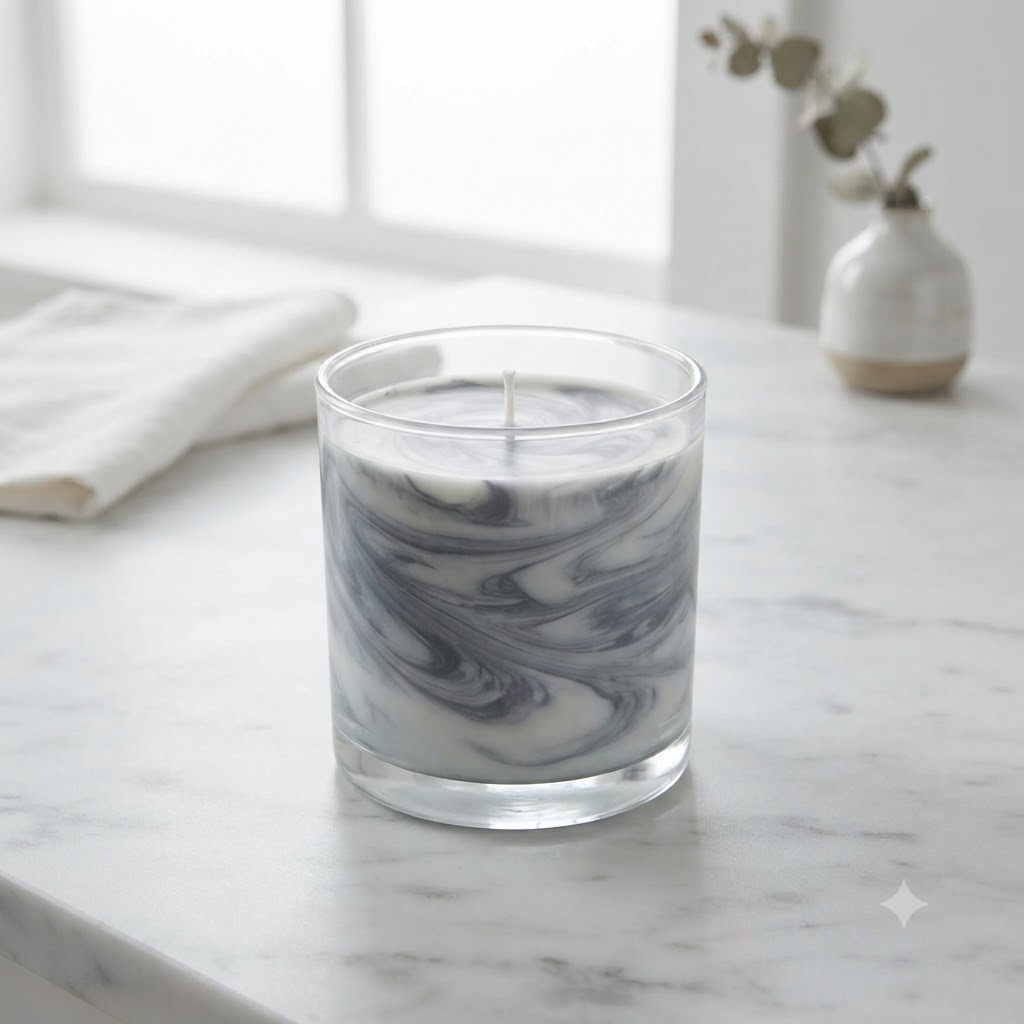
Allow your marble candle to cool completely at room temperature — 4 to 6 hours minimum, or overnight if you can wait. The marble pattern will sharpen and deepen as the wax sets, and the colours will separate more distinctly than they appeared in the liquid state.
After the candle is fully set you will almost certainly have a slight sinkhole around the wick. This is normal with any candle and nothing to worry about. Do a top-up pour using only your dominant white wax at a slightly lower temperature (around 125–130°F), adding just enough to level the surface. Do not swirl this top layer — it is a finish coat only.
Allow to set again completely before trimming the wick to 5–6mm.
Method 2: The Paint-On Marble Effect
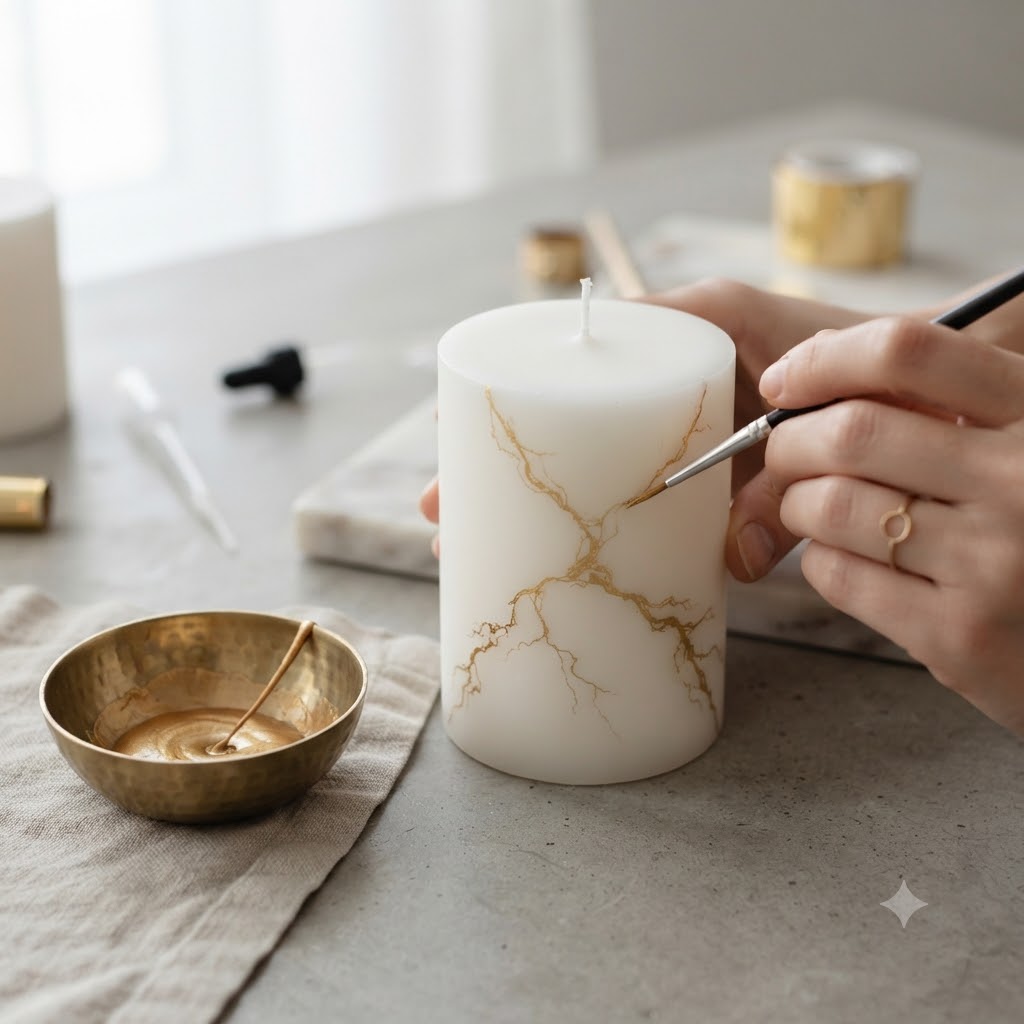
This method gives you more control, is more forgiving, and can be done on candles you have already made or bought. It is the approach most people use for marble candle ideas on pillar candles, tapers, or votives.
Melt a small amount of paraffin wax — just 30–50g — and colour it with your accent colour. You want this wax thin and fluid, so add a small amount of mineral oil or coconut oil (5–10% of wax weight) to reduce the viscosity and make it easier to apply as a fine line.
Let it cool slightly until it is thick but still liquid — around 120–130°F. Too hot and it will run everywhere. Too cool and it will set before you can work with it.
Using a fine paintbrush, apply your marble veins to the surface of the candle in long, diagonal strokes with slight wobble and branching. Real marble veining has a direction — it does not go in random circles. Keep your strokes mostly parallel, varying slightly in width and pressure, with occasional small branches splitting off from the main vein.
For gold veining on a white candle — one of the most popular modern candle ideas right now — use a metallic gold candle dye or fine gold mica powder mixed into a tiny amount of warm wax. Applied with a thin brush, it looks extraordinary.
Colour Combinations That Make Stunning Marble Candles
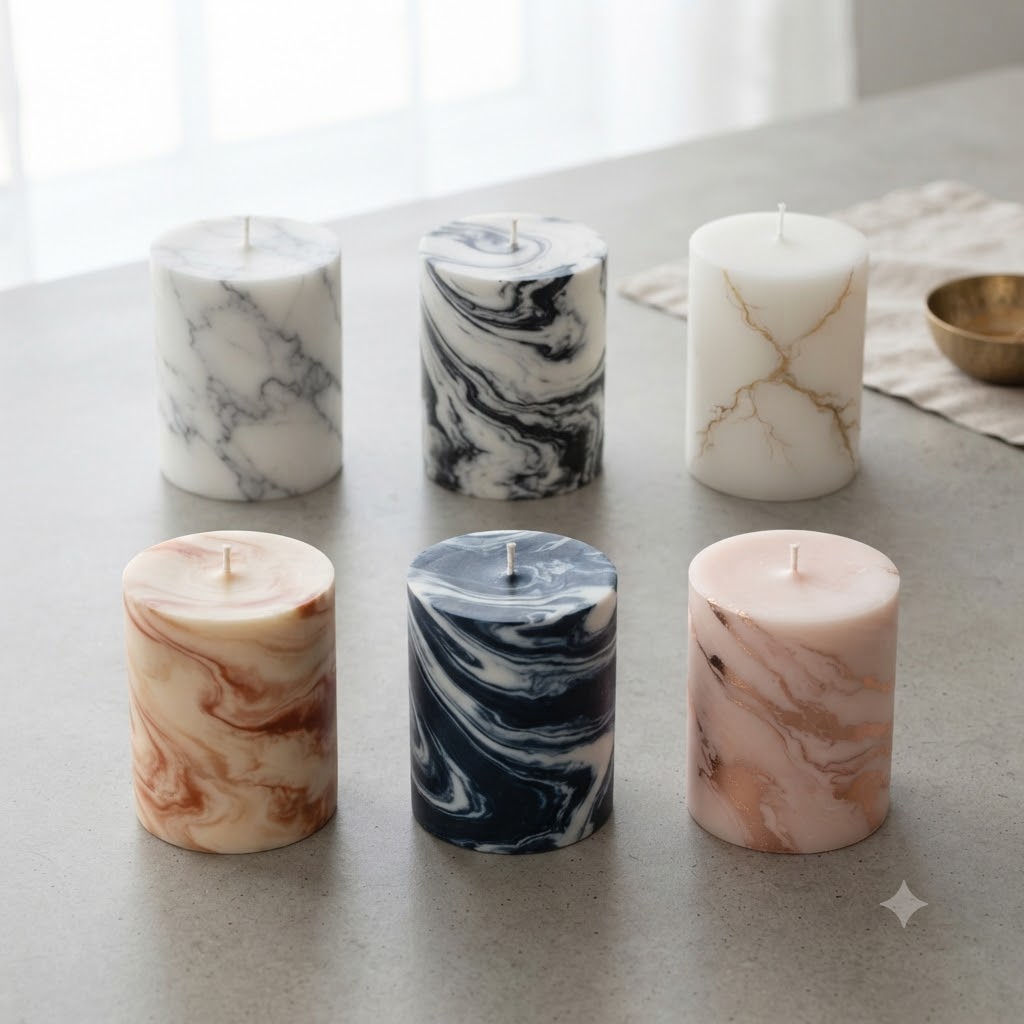
The colours you choose define the entire personality of a marble candle. Here are the combinations that consistently produce the most beautiful results.
White and grey — the classic. Clean, modern, and versatile. Works in any home aesthetic. The most realistic marble look.
White and black — dramatic and graphic. More modern and editorial than natural stone. Particularly striking in a larger pillar format.
White and gold — the most popular marble candle ideas right now. Luxurious, warm, and incredibly giftable. Works with either the swirl pour or the painted vein method.
Cream and terracotta — earthy and warm, this combination leans more organic than traditional marble but is genuinely beautiful. Perfect for autumn styling and home décor.
Deep navy and white — sophisticated and slightly moody. Less commonly seen than the grey and white version which gives it an instant distinctiveness.
Blush and rose gold — soft, feminine, and very popular for gifting and weddings. Use the paint-on method with fine rose gold veining over a pale pink wax base.
Small Choices That Make a Big Difference
A few details that most marble candle tutorials skip over — and that genuinely affect your results.
Use a clear or lightly tinted jar for swirl pours. The marble effect inside the wax is the whole point — if your jar is opaque or heavily tinted, you lose half the visual impact. Clear glass, frosted glass, or a very pale amber are the best choices.
Dye concentration matters more in marble than in any other style. Too much dark dye and your accent colour overwhelms the white and the veining looks muddy. Too little and it disappears into the dominant colour. Aim for accent wax that looks slightly deeper in colour than you want the final result — it will lighten by about 20–30% as it sets.
Temperature of the two waxes must match at pour time. If one is slightly hotter, it will melt into the cooler one rather than sitting alongside it. This creates blending rather than veining. Same temperature, same moment, slow pour.
The skewer direction mimics geology. The most beautiful aesthetic candle making results come from understanding that real marble was formed by pressure moving in a direction. One or two dominant diagonal veins across the jar, with smaller branches, always looks more natural and convincing than random swirls.
Troubleshooting
The colours blended into one muddy shade — you over-swirled. Next time, stop after two passes with the skewer, even when you want to do more.
The marble pattern disappeared as the wax set — your accent colour concentration was too low. Use more dye in the accent wax next time — the set colour is always lighter than the liquid.
The surface cracked — rapid cooling. Keep your candles away from cold drafts or air conditioning while they set.
The painted veins look thick and unnatural — your painting wax was too cool when applied and set too fast. Warm it slightly and work more quickly with your brush.
The gold veining sank into the wax rather than sitting on the surface — the candle was too warm when you applied it. Let the pillar candle cool to room temperature before painting on any surface details.
How to Display Marble Candles for Maximum Impact
A marble candle deserves a setting that lets it be the centrepiece, not an afterthought.
On a marble or stone surface, the visual echo between candle and surface creates an intentional, editorial look that feels genuinely designed. On a dark wooden surface, marble candles pop in contrast and feel warm rather than cold. Grouped in threes — different heights, same colour family — they look like a collection rather than a random assortment.
For decorative candles that are more display pieces than burn-every-night candles, a glass dome or cloche over a marble pillar keeps it pristine and makes it look like a museum piece in the best possible way. The kind of thing people ask about when they come to your home.
The first marble candle you make will teach you more than this guide can. You will see the exact moment the swirl goes from “needs one more pass” to “perfect” — and you will probably go one pass too far, because everyone does the first time. That is how you learn where the line is.
Make the second one the same day. That is the one that will be genuinely beautiful. And the third one — that is the one you will want to give to someone. Marble candles diy have a way of becoming a practice rather than a single project, because once you understand how the colours move in the wax, you keep wanting to see what happens when you try something slightly different. That curiosity is exactly what makes candle making worth doing.
Related: