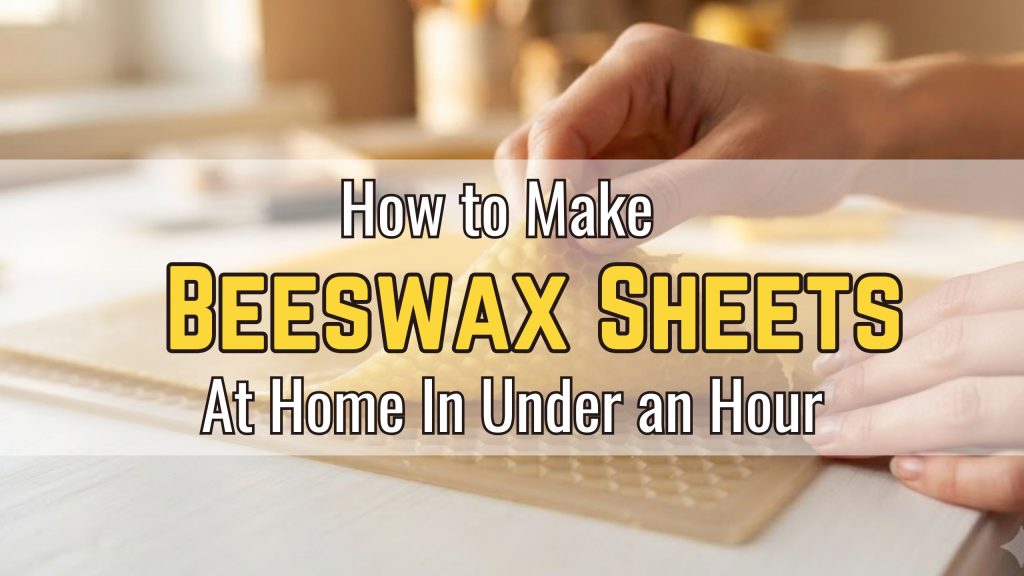
Beeswax sheets might be the most satisfying craft material most people have never tried making — and once you know how to make beeswax sheets, you will wonder why you ever bought them.
They smell incredible. They have a warmth and texture that is nothing like any synthetic material. They are endlessly useful — for rolled beeswax candles, for wrapping gifts, for kids craft afternoons, for beeswax wraps, for all sorts of projects that feel slow and intentional in the best possible way. And the process of making them at home is genuinely simple: melt, pour, peel. That’s it.
What makes beeswax sheets different from any other candle making material is who they work for. A child as young as five can use a ready-made beeswax sheet to roll a candle in about three minutes with zero heat involved. A teenager can pour and make their own sheets in an afternoon. A candle maker can use custom sheets to create rolled candles in any colour, size, or scent combination they want. There is almost no other material in candle making that spans that range — from kids candle crafts and mess free kids activities all the way to a legitimate business product — quite so naturally.
Affiliate Disclosure: This article contains affiliate links which means we may earn a commission at no extra cost to you. You can check our affiliate disclosure page here.
This guide covers both sides: how to actually make the sheets, and everything worth doing with them once you have.
What Are Beeswax Sheets, Exactly?
Beeswax sheets are thin, flat panels of beeswax — typically around 20cm x 40cm and 2–4mm thick — with a distinctive honeycomb texture pressed into one side. That texture is not just decorative. It is functional. The honeycomb pattern gives the sheet grip and flexibility, making it easy to roll tightly around a wick without cracking, and giving finished candles their signature look.
You can buy them ready-made in craft stores in natural golden beeswax or in a wide range of dyed colours. But making your own gives you three things that buying cannot: complete control over colour, control over thickness, and a connection to the material that makes the finished candle mean something more.
How to Make Beeswax Sheets at Home
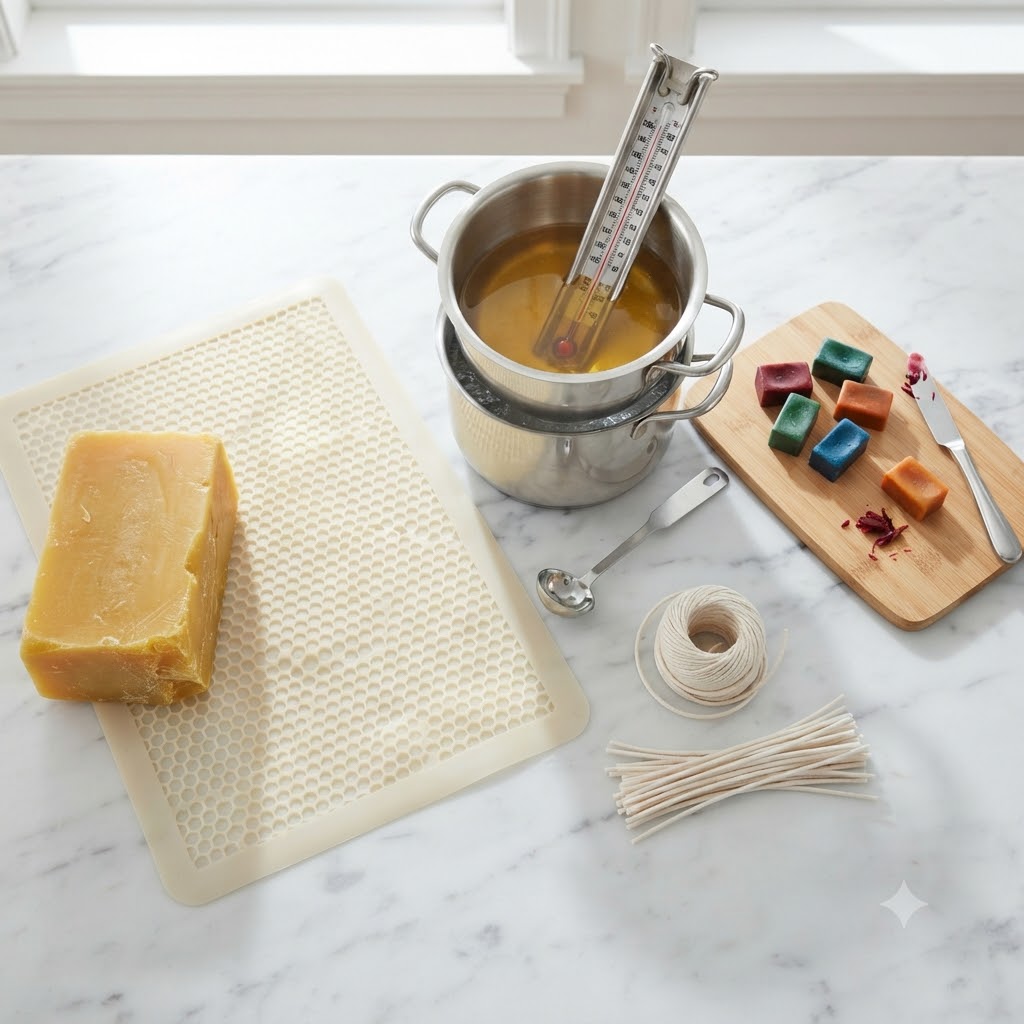
What You Need
Beeswax — the primary ingredient. Use filtered, cosmetic or food grade beeswax for the cleanest, clearest sheets. Yellow beeswax gives the classic warm golden colour. White beeswax has been filtered more heavily and gives a paler, creamier sheet. Either works beautifully.
Candle dye — optional but wonderful. Wax-soluble candle dye in any colour can be added to create coloured beeswax sheets. Pastel shades look particularly beautiful for kids crafts and gift candles.
A textured mat — this is what creates the honeycomb pattern.
A large flat baking tray — to contain the mat while you pour and to keep the sheet perfectly flat while it cools
A double boiler or wax melter — to melt the beeswax gently and evenly
A digital thermometer — beeswax has a specific working temperature range and you need to stay within it
A pouring pitcher — a ladle or small pouring pitcher works well
Optional: fragrance oil or essential oil — a small amount of lavender, vanilla, or citrus essential oil added to the melted beeswax gives your sheets a beautiful natural scent that carries through to the finished candle
Step 1: Melt Your Beeswax Slowly
Place your beeswax in a double boiler over medium-low heat. Beeswax melts at around 144–147°F (62–64°C) — considerably lower than paraffin — and it is important not to overheat it. Overheated beeswax loses some of its natural properties, can discolour, and is harder to work with for sheet pouring.
Heat slowly and watch your thermometer. Stir gently as the beeswax melts to ensure even temperature throughout. You are aiming for the wax to be fully liquid and smooth — no lumps, no cloudy sections, just a clear, honey-coloured liquid.
For a standard sheet measuring approximately 20cm x 40cm and 3mm thick, you will need around 150–180g of beeswax. Scale up for thicker sheets or multiple sheets in one session.
Step 2: Add Colour and Scent (Optional)
With the wax fully melted and at temperature, remove from heat before adding anything else.
For colour: Add a small amount of candle dye — either shaved from a dye block or a few drops of liquid dye — and stir thoroughly until the colour is completely even. Beeswax naturally has a warm golden tint, which means cool colours like blue and green will read slightly warmer than you might expect. Test on a white piece of paper to check the set colour before pouring. Start with less dye than you think you need — beeswax sheets are thinner than poured candles and the colour appears more saturated in a thin sheet than in a thick pour.
For scent: Add no more than 3–5% of the wax weight in essential oil or fragrance oil. Beeswax already has a natural honey scent that is part of its appeal — you want to complement it, not cover it entirely. Lavender, orange, cinnamon, and vanilla all pair beautifully with beeswax’s natural warmth. Stir gently for 30 seconds to fully incorporate.
Step 3: Prepare Your Mat and Tray
Lay your silicone honeycomb mat flat on your baking tray. Make sure the tray is on a completely level surface — this is important for getting a sheet of even thickness. A sheet that is thicker on one side than the other will roll unevenly and produce a candle that burns inconsistently.
If you want a specific sheet size, you can create a simple border around your mat using strips of blu-tack, floral wire, or small pieces of polymer clay pressed against the edges of the mat to act as a dam and define the edges of your sheet cleanly.
No greasing or preparation of the mat itself is needed — beeswax releases from silicone cleanly on its own.
Step 4: Pour Your Sheet
Allow the melted wax to cool slightly in the pitcher — you want to pour at around 150–155°F (65–68°C). Pouring at the right temperature gives you a smooth, even surface with clean honeycomb impressions. Too hot and the wax runs thin and fills unevenly. Too cool and it sets before it can spread properly.
Pour slowly and steadily from one end of the mat, moving in a smooth, even motion across the surface. You want the wax to spread naturally to a consistent thickness — roughly 2–4mm — rather than piling up in one spot. Work quickly but deliberately. You have about 30–45 seconds before the wax begins to set at the edges.
If any area looks slightly thin after pouring, do not try to add more wax — it will create a visible seam where the two temperatures of wax meet. Instead, gently tilt the tray just a fraction to encourage any pooled wax to spread naturally to the thinner areas.
Step 5: Let It Set — Then Peel
Leave your sheet completely undisturbed at room temperature. Depending on the thickness of your pour and the ambient temperature of your room, the sheet will take 20–40 minutes to fully set. You will know it is ready when the surface is completely opaque and matte and the sheet has very slightly pulled away from the edges of the mat on its own.
Do not speed this up in the fridge — rapid cooling can cause the sheet to become brittle and crack when you try to roll it. Room temperature cooling gives a sheet that is firm but still flexible — exactly what you need for rolled beeswax candles.
To peel, start at one corner and lift slowly and steadily. The sheet will release from the silicone mat cleanly, honeycomb texture perfectly impressed on the underside. Hold it up to the light — you should see an even, consistent thickness throughout with clean edges.
If your sheet tears during peeling, it has either cooled too much (the room is cold) or was poured too thin. Warm the sheet very briefly with a hairdryer on a low setting — just 10–15 seconds — to make it pliable again before peeling.
What to Do With Your Beeswax Sheets
Rolled Beeswax Candles — The Easiest Candle You Will Ever Make
This is the main event for most people who make beeswax sheets — the rolled beeswax candle. And it earns its reputation completely. Rolling a candle from a beeswax sheet takes under five minutes, requires no heat at all, and produces a beautiful, professional-looking candle that burns for hours.
How to roll a taper:
- Cut your sheet into a rectangle — a standard taper uses a sheet approximately 20cm wide and 30cm long, cut diagonally from one corner to create the taper shape
- Lay a pre-waxed wick along one short edge, leaving about 1–2cm of wick extending beyond the top
- Fold the edge of the sheet over the wick and press firmly to create the first bond
- Roll slowly and tightly, pressing gently with your fingers as you go to ensure each new layer bonds to the previous one
- At the end, press the final edge firmly against the rolled candle to seal it
- Trim the wick at the base flush and leave 6mm at the top
The natural warmth of your hands softens the beeswax just enough during rolling to create tight, seamless layers without any cracking. This is exactly why beeswax projects for kids start here — the forgiving, no-heat process means even small hands can produce something genuinely beautiful.
Beeswax Sheets for Kids — The Ultimate Mess Free Craft
Here is why beeswax projects for kids belong in a category of their own: no heat, no dye, no sharp tools, no mess that does not clean up in seconds. A beeswax sheet craft session is genuinely one of the most satisfying mess free kids activities you will find, because the material itself is the activity. Kids can roll candles, shape small sculptures, press flowers into the surface, cut shapes with scissors, or simply explore the texture and scent of the sheets with their hands.
For a kids candle making session:
- Pre-cut the sheets into manageable pieces before the activity
- Pre-wax the wicks so they are stiff and easy for small hands to position
- Warm the sheets very slightly with a hairdryer beforehand if the room is cool — this makes them significantly more pliable and easier for younger children to roll without cracking
- Let children choose their own colour combinations — two or three different coloured half-sheets can be layered together before rolling for a beautiful striped candle effect
For kids candle crafts at birthday parties, school events, or rainy day activities at home, beeswax sheet rolling is the answer every time. It takes 5 minutes per child, every child walks away with something they made themselves, and the room smells like honey the entire time. You genuinely cannot ask for more from an activity.
Other Beautiful Things to Do With Beeswax Sheets
Beeswax food wraps — cut your sheet to size, place over a bowl or around food, and the warmth of your hands moulds it into a reusable, natural food wrap. A beautiful sustainable alternative to cling film that looks lovely in a kitchen.
Gift wrapping — a small gift wrapped in a piece of natural golden beeswax sheet, tied with twine and a sprig of dried lavender, is one of the most beautiful, sustainable, and memorable gift presentations imaginable.
Ornament making — press dried flowers, herbs, or leaves into a slightly warm beeswax sheet before it fully sets to create beautifully textured botanical ornaments for wreaths, gift tags, or decoration.
Beeswax thread conditioner — run a length of thread across the surface of a beeswax sheet before sewing to coat it naturally and prevent tangling and fraying.
Troubleshooting Your Beeswax Sheets
The sheet cracked when I tried to roll it — it was too cold. Warm it gently with a hairdryer on the lowest setting for 10 seconds and try again. In winter or cold rooms, sheets need to be warmed before every roll.
The honeycomb texture did not transfer clearly — your pouring temperature was either too high (wax too fluid, filled the texture cavities but then shifted before setting) or too low (wax set before it could flow into the texture pattern). Aim for 150–155°F precisely for the clearest texture transfer.
The sheet is too brittle and snaps rather than peeling — either the pour was too thin or the room cooled the sheet too fast. For a more flexible sheet, pour slightly thicker and ensure the room temperature is at least 18–20°C during cooling.
The colour looks uneven or streaky — the dye was not fully dissolved before pouring. Always stir for at least 60 seconds after adding dye and do a paper test to confirm even colour distribution before pouring onto the mat.
The edges of the sheet are thicker than the centre — the mat was not on a completely level surface when you poured. Use a spirit level on your tray before pouring for perfectly even sheets every time.
A Note on Sourcing Beeswax
The quality of your beeswax sheets depends almost entirely on the quality of the beeswax you start with. Look for cosmetic or food grade filtered beeswax from a reputable supplier — local beekeepers are often the best source, particularly if supporting natural candle making and sustainable practices matters to you.
As now you learned how to make beeswax sheets, avoid craft store beeswax blends that may contain paraffin or additives — these change the melting point, the flexibility, and the scent of your sheets significantly. Pure beeswax costs more but behaves completely differently and produces sheets that are a joy to work with.
You started with blocks of wax and a silicone mat. You ended with something that smells like honey and sunshine, that a child can turn into a candle in three minutes, and that you could sell at a market for several times what it cost to make. That is the particular magic of beeswax sheets diy — the gap between effort and result is smaller here than almost anywhere else in candle making, and the results never stop being worth it.
Related: